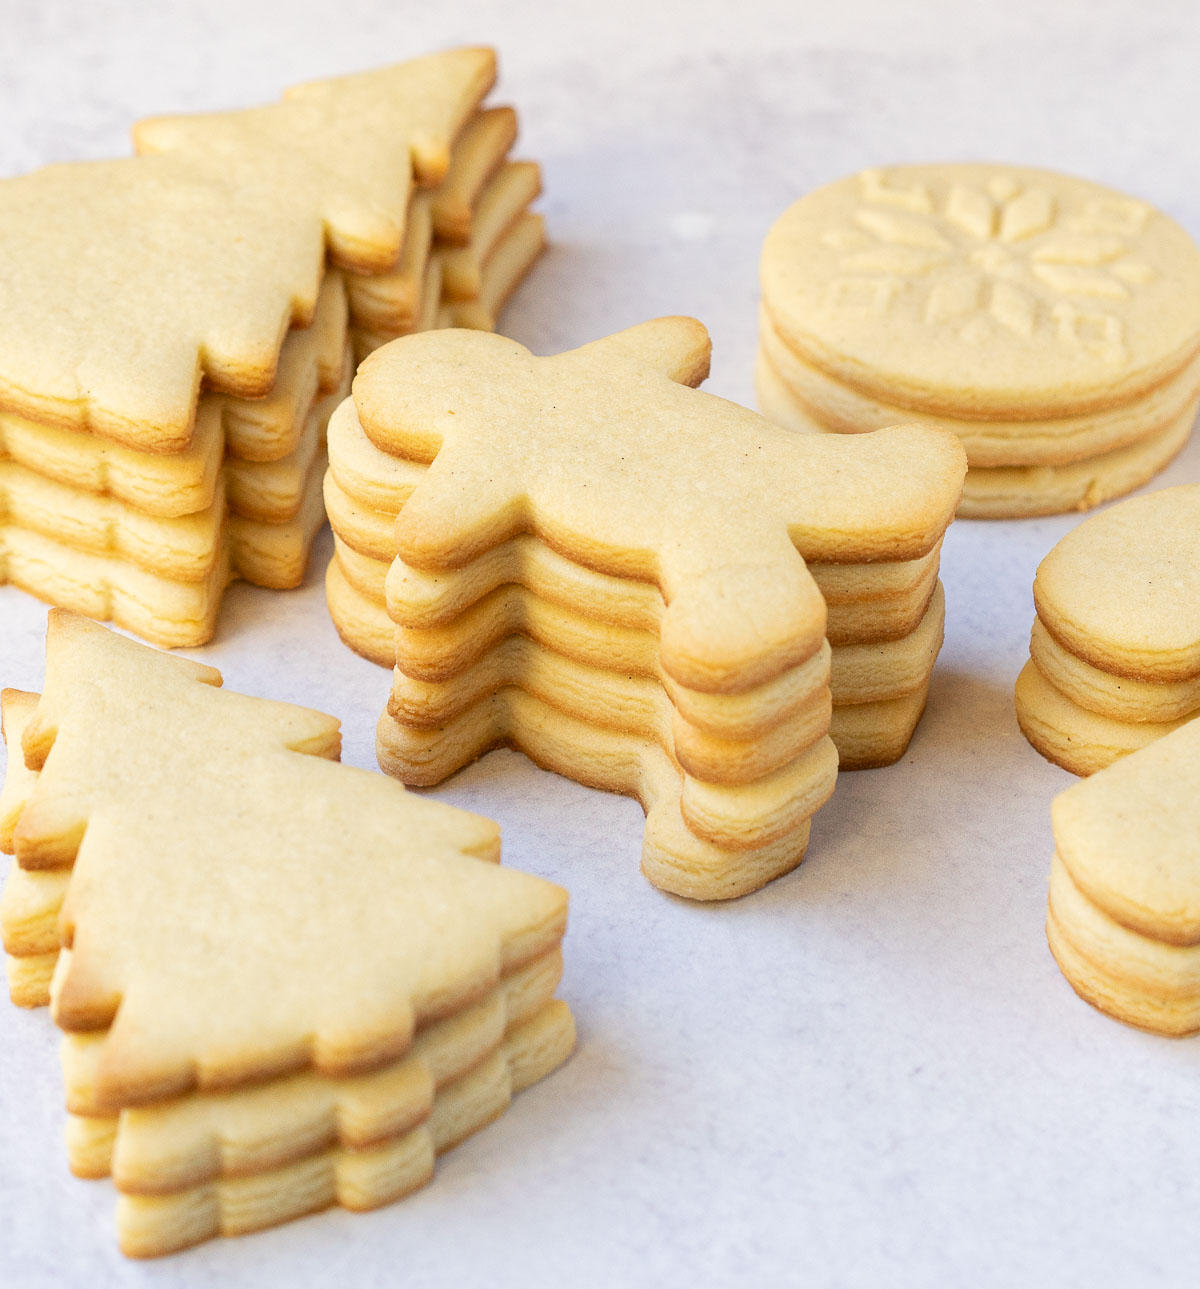
Soft, buttery and full of vanilla flavor, this vanilla bean sugar cookie recipe is perfect with only a few ingredients and comes together in less than an hour. It is perfect for using as a cutout recipe, or even with stamped cookies.

One of the first recipes I began with was this classic sugar cookie, rollout version. It was a chill recipe the first time it came around, but it received an update last year as a no chill (honestly better too imo). At one time I think I had about 8 or 9 rollout sugar cookie recipes in my recipe notebook (some published, some not) and it was a constant question of 'which one next?'.
Eventually I moved beyond the rollout cookie to just drop cookies, and now find myself working hard to learn and share recipes for other desserts (brownies, cakes, oh my!). But I'll never forget where my roots began with recipe development - the basic rollout vanilla sugar cookie. I decided to circle back to this recipe and update one more time to include any tips and tricks that helps me tremendously.
Jump to:
Why You Will Love This Recipe
Simplicity. While most of the other recipes I share on the site may seem complex, or intimidating because of the number of ingredients or method, this recipe is really quite simple. It takes only 7 ingredients - ones most of us already have in our pantry.
Flavor Profiles. I use vanilla extract in this recipe, but you can easily sub with your favorite extract. Lemon, almond, strawberry, etc - truly this recipe will work with any flavor of your choosing.
Versatile. This recipe allows you to make cut out sugar cookies, or stamped sugar cookies. It's the beauty of the recipe because you can chose how you will decorate and it will fit your needs!
If you love sugar cookies than I recommend also trying my Blueberry Lemon Sugar Cookie, Chocolate Sugar Cookie or Black Cocoa Sugar Cookie.
Baking Tips
Weigh Your Ingredients. You will have a better chance of success with this recipe if you weigh your ingredients.
Room Temperature Ingredients. The eggs should be at room temperature, just remove from refrigerator about 30 minutes prior. Butter you want to be a bit cool to the touch where if you push your finger you leave a slight indentation but too far in either. You can speed up the process by cubing the butter.
Use An Oven Thermometer. Our ovens can run hot or colder than what is shown, so I highly recommend an oven thermometer so you can ensure the recipe you are baking is not under or over baked. Amazon has them available for below $10.
Use A Stand Mixer. I recommend using a stand mixer for this recipe, but you should be able to make by hand as long as you knead the dough well when bringing the wet and dry ingredients together.
Ingredients
Please read through the ingredients list so you can familiarize yourself with each ingredient, along with suggestions or recommendations during the preparation or baking process. Please see the Recipe Card for all details.
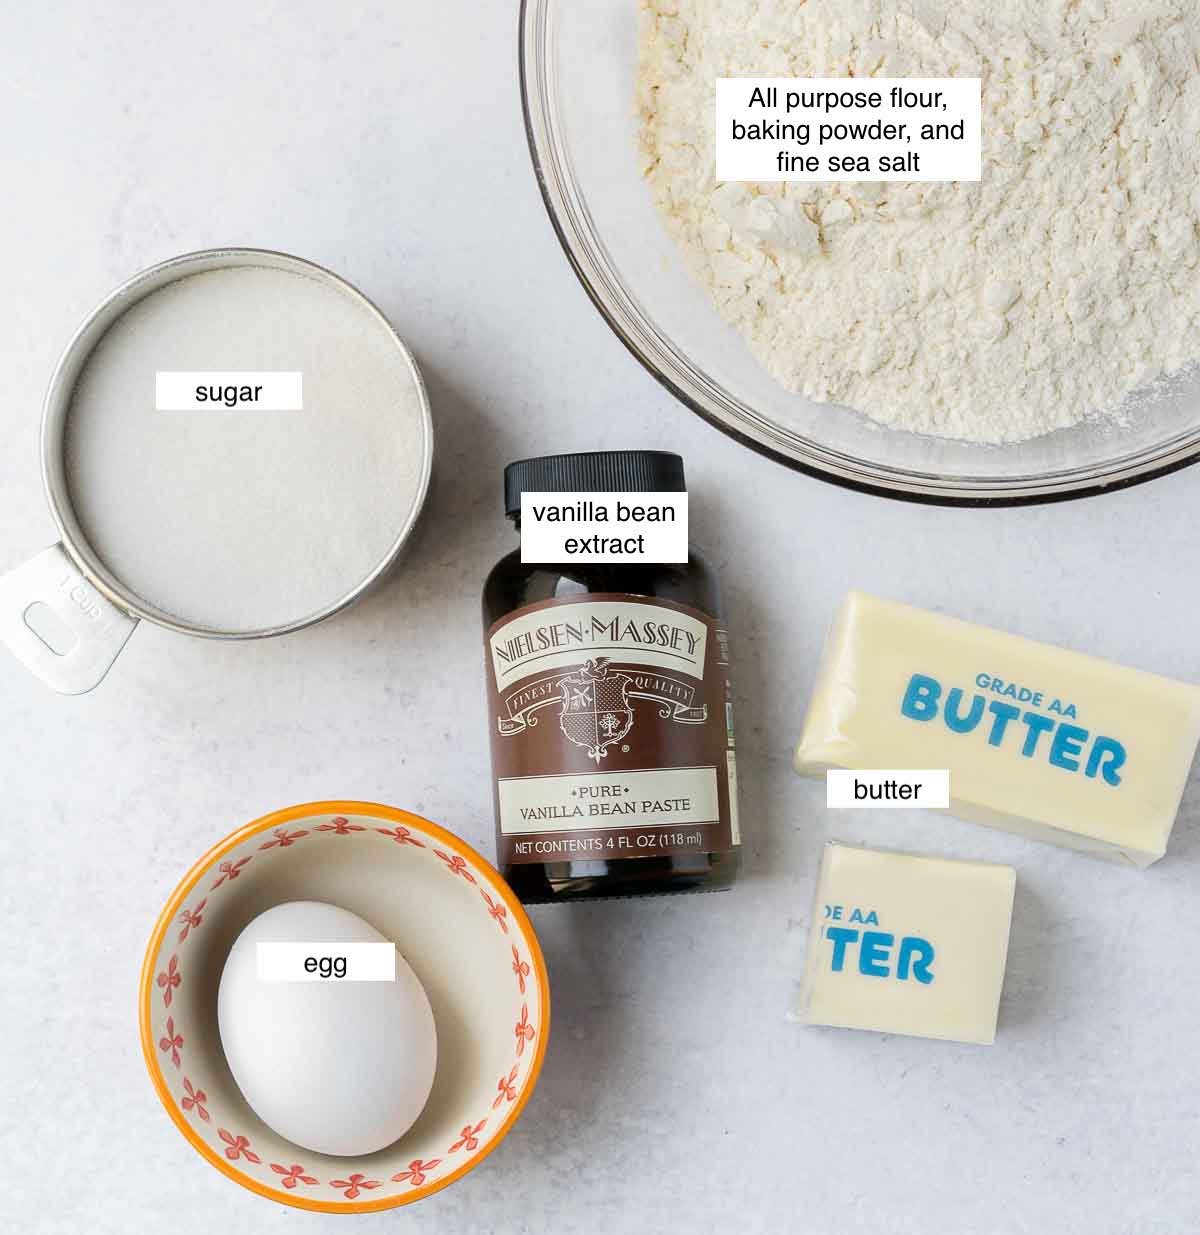
Vanilla. I use vanilla bean for this vanilla sugar cookie recipe, but you can absolutely substitute for regular vanilla extract. I do love the flecks the vanilla bean gives to the cookie, but overall I haven't noticed a flavor difference when switching between the two.
Unsalted Butter. You can substitute for salted butter but just omit the salt from the recipe if you do.
Baking Powder. If you are going to be using the recipe to stamp the cookies then omit this ingredient.
Let's Make Vanilla Bean Sugar Cookies
This recipe uses baking tools and ingredients that can be found in most homes. Please see recipe card for full list of equipment and ingredients.
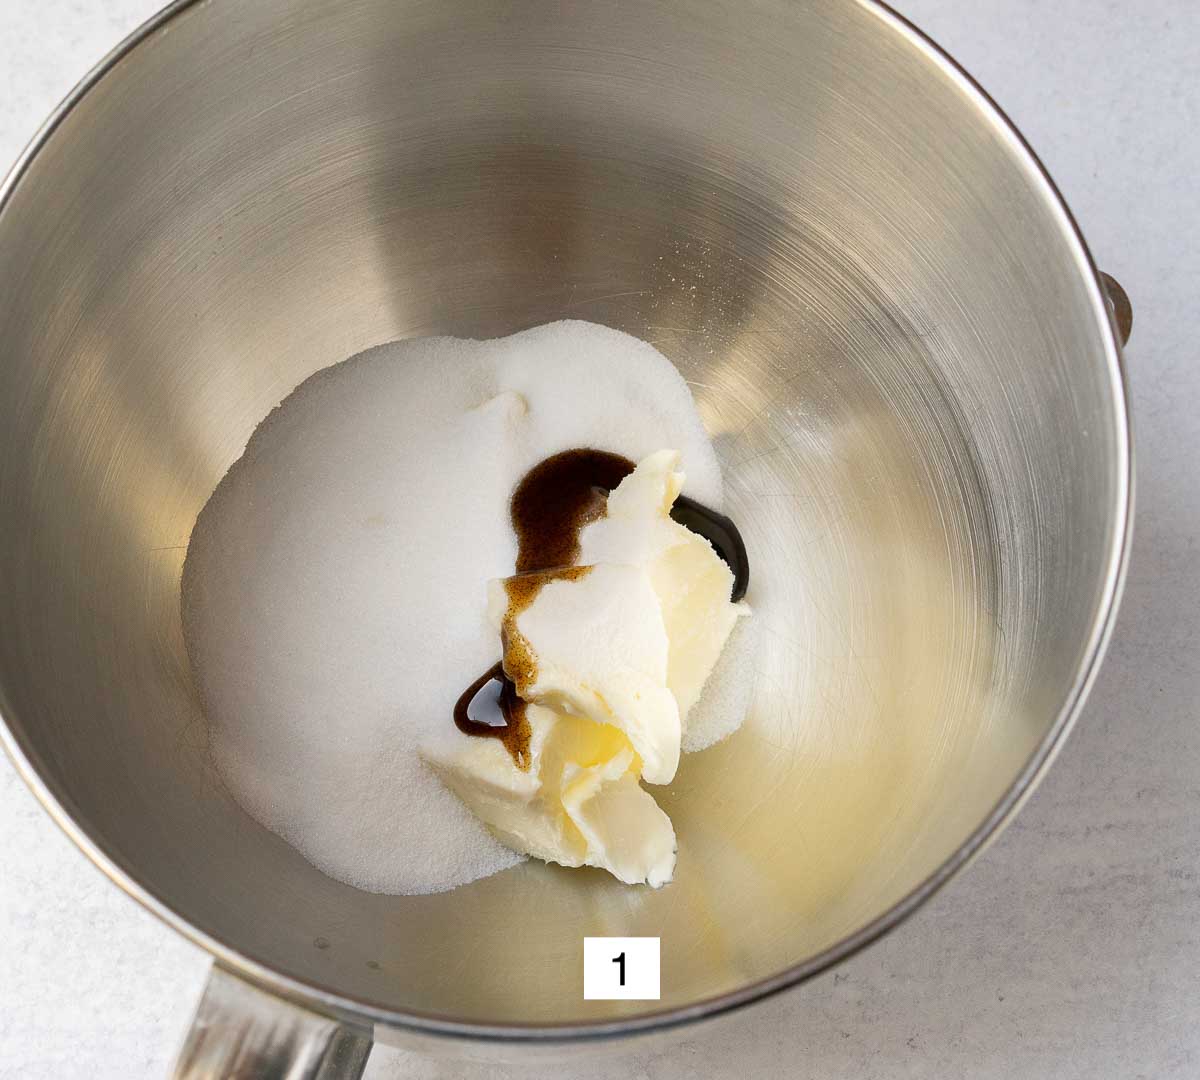
Step 1: In a stand mixer fitted with a paddle attachment, add butter, sugar and vanilla bean. Cream together ingredients for about 2 to 3 minutes, or until light and fluffy.
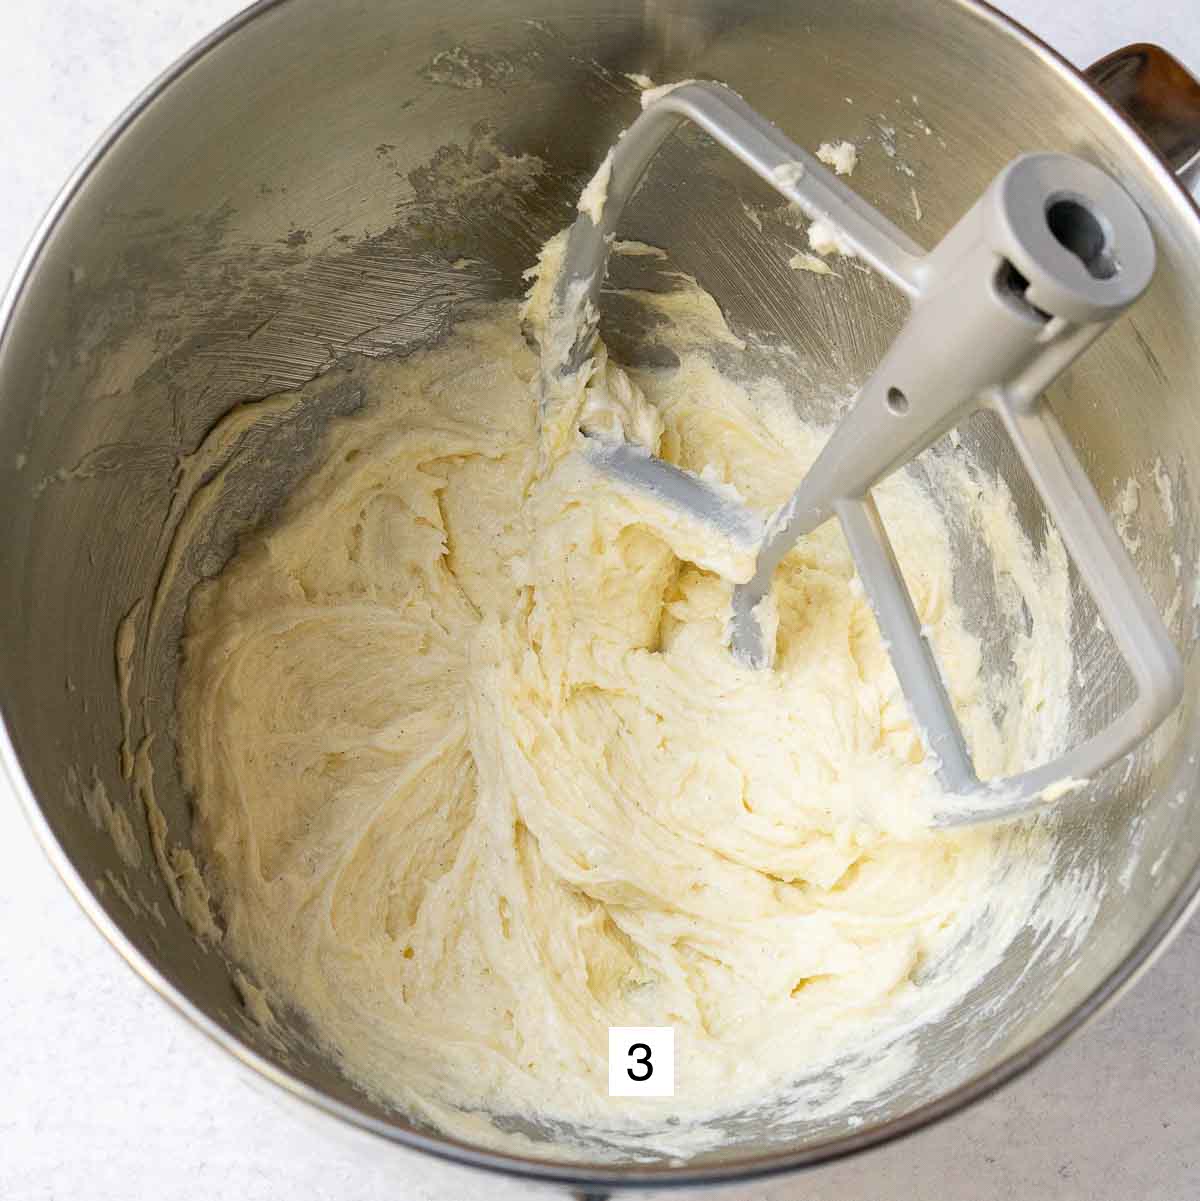
Step 2: Add egg and mix on medium low. Scrape down bowl and continue mixing until well combined.
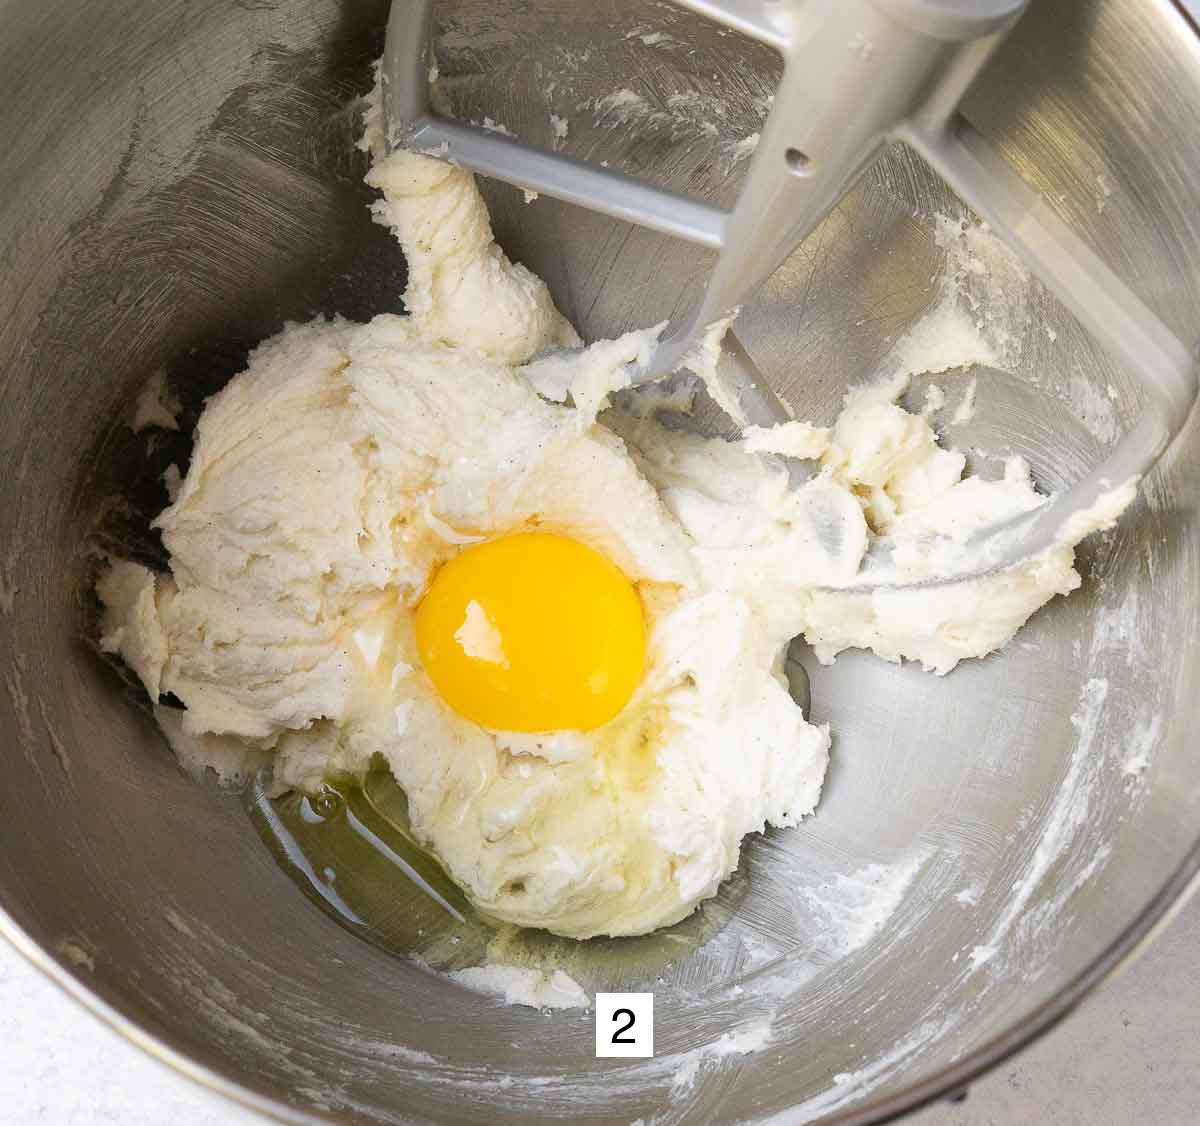
Step 3: Make sure the ingredients are well mixed together.
Step 4: Add dry ingredients to the wet ingredients. Mix on low until about half the flour is combined, and then increase speed to medium low.
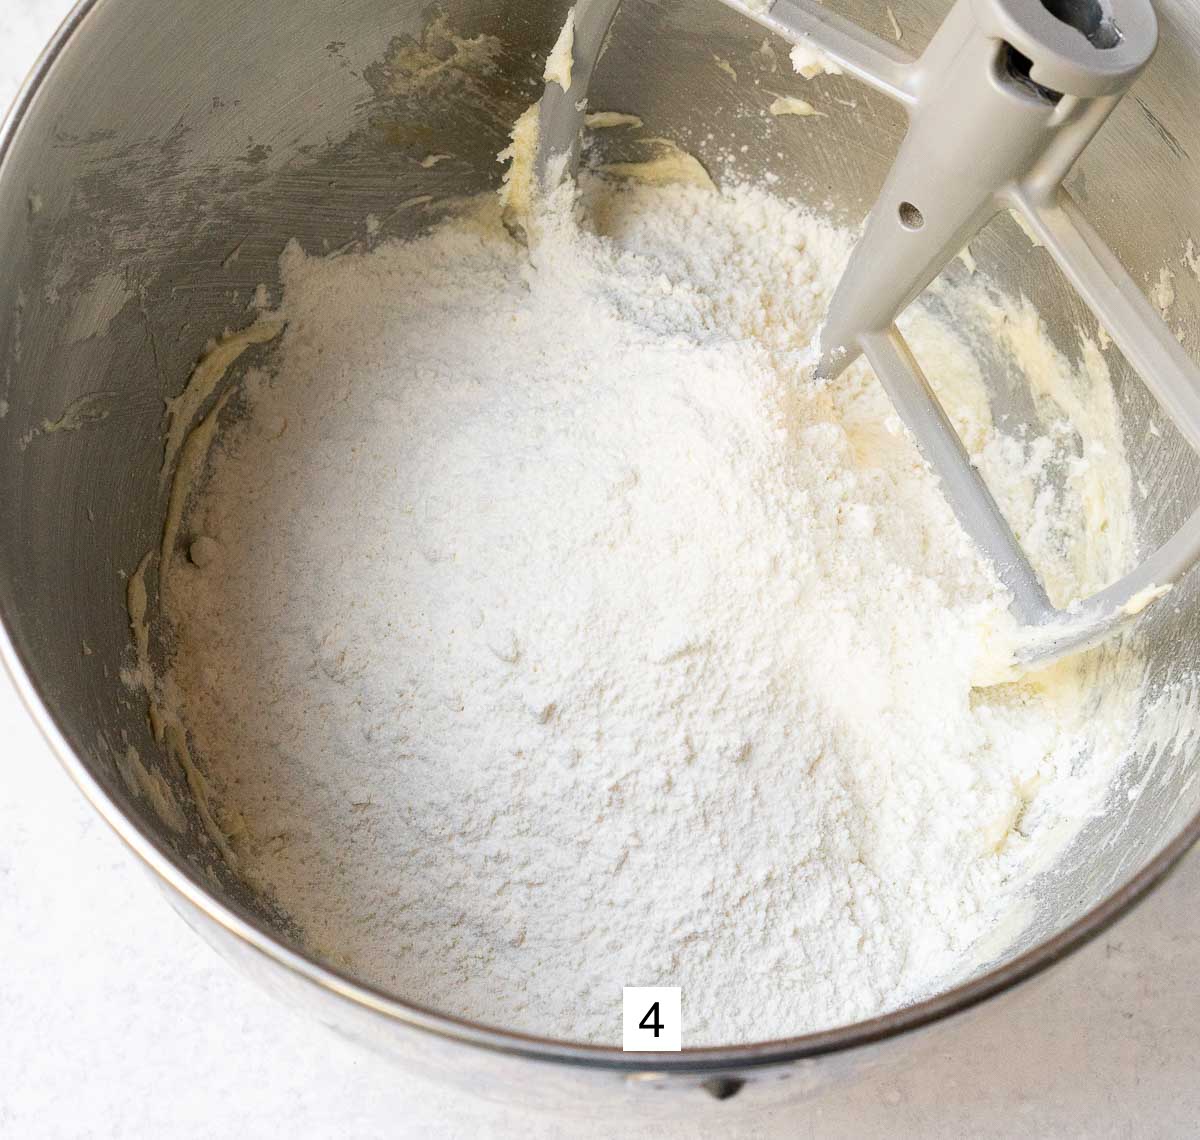
Step 5: Continue mixing dough until dough begins to pull together on paddle attachment.
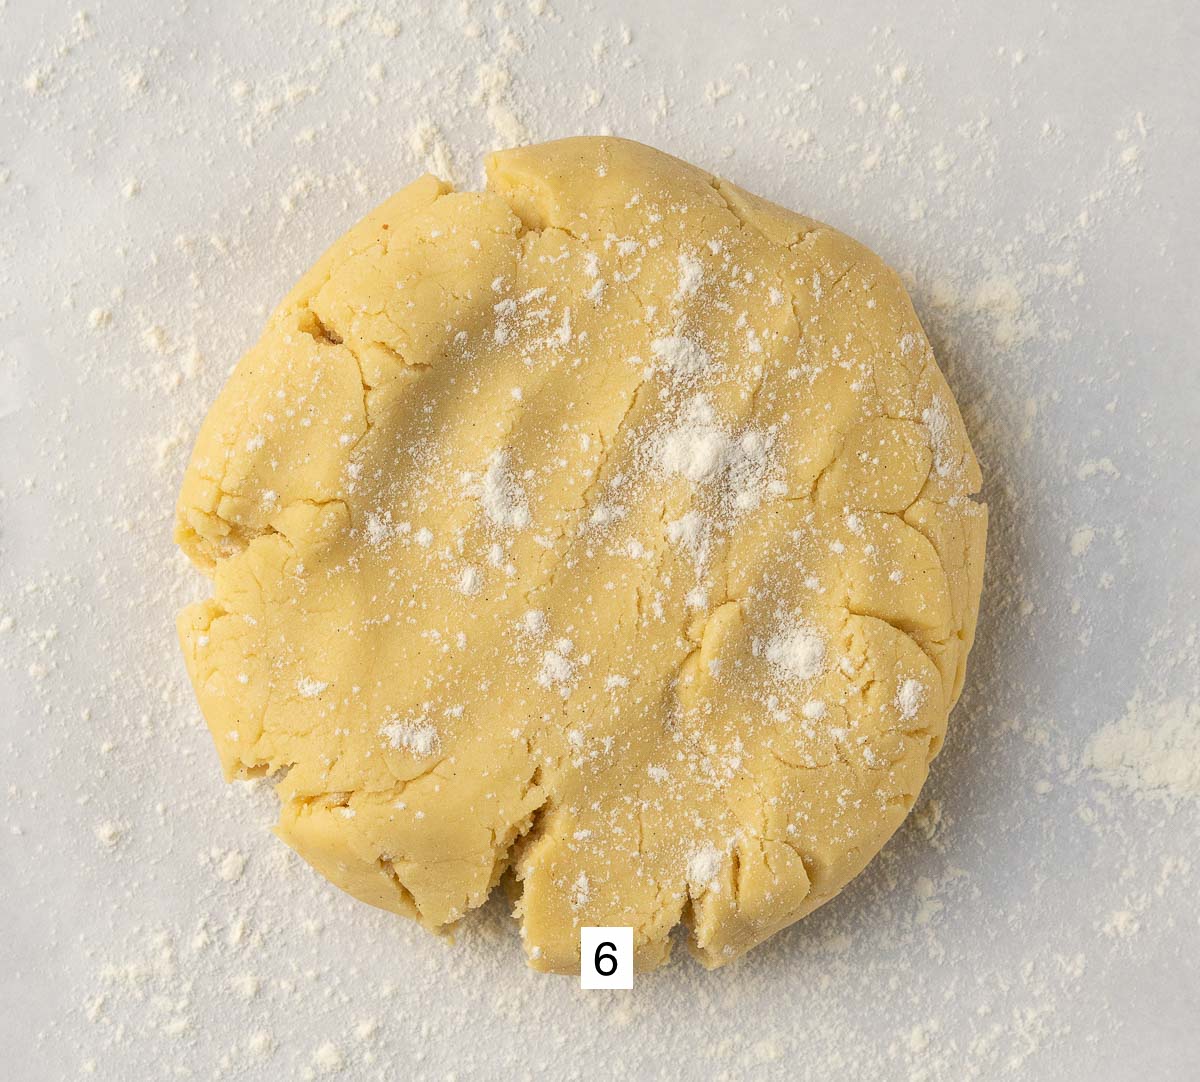
Step 6: Lay one piece of parchment down about the size of a half baking sheet (9x13). Sprinkle with flour and then place dough on top. Sprinkle a bit of more flour on top of the dough.

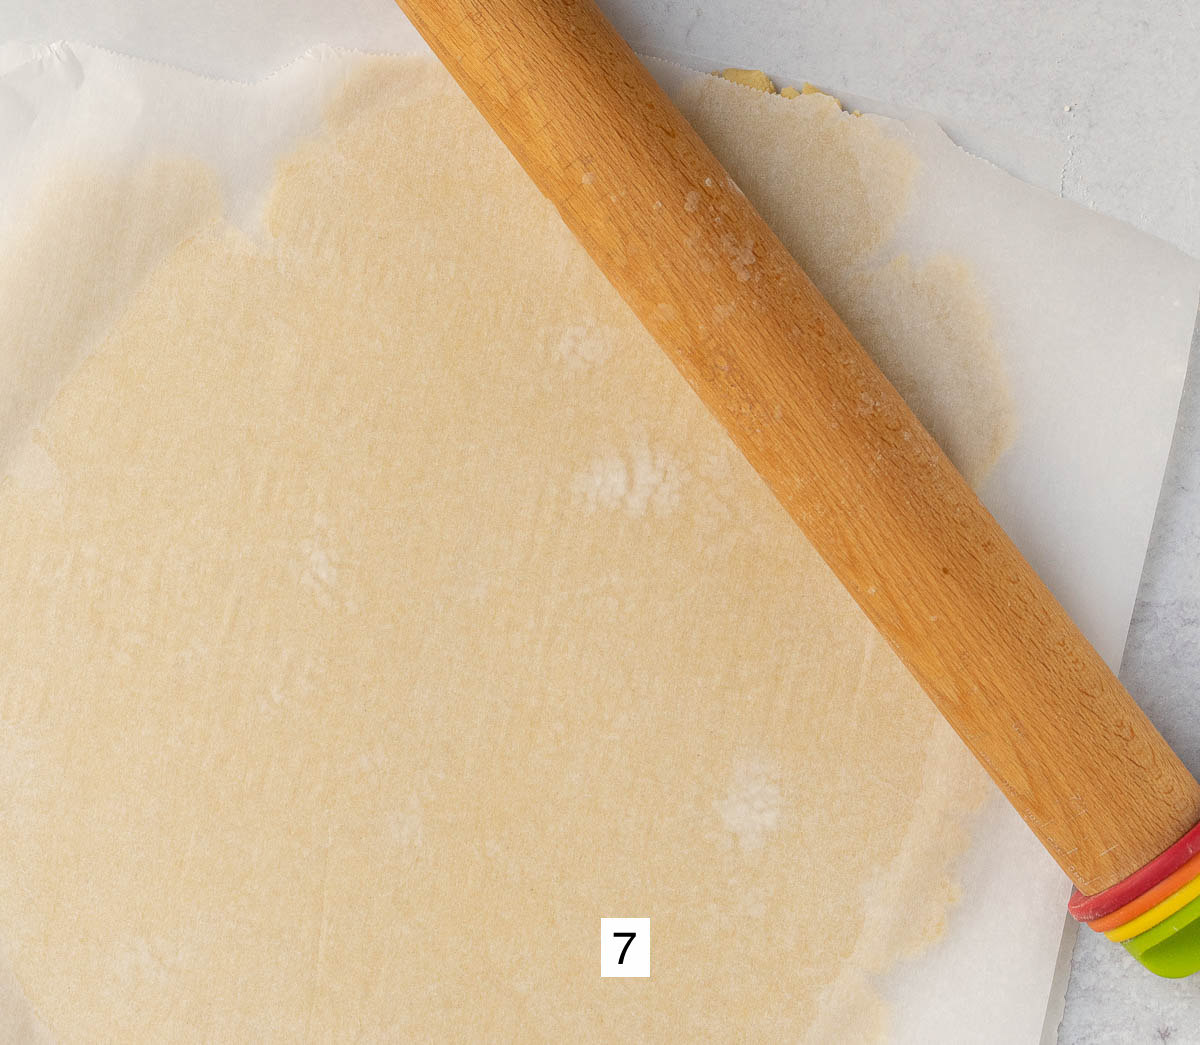
Step 7: Place an equal length piece of parchment on top of the dough and use a rolling pin to roll out to desired thickness.
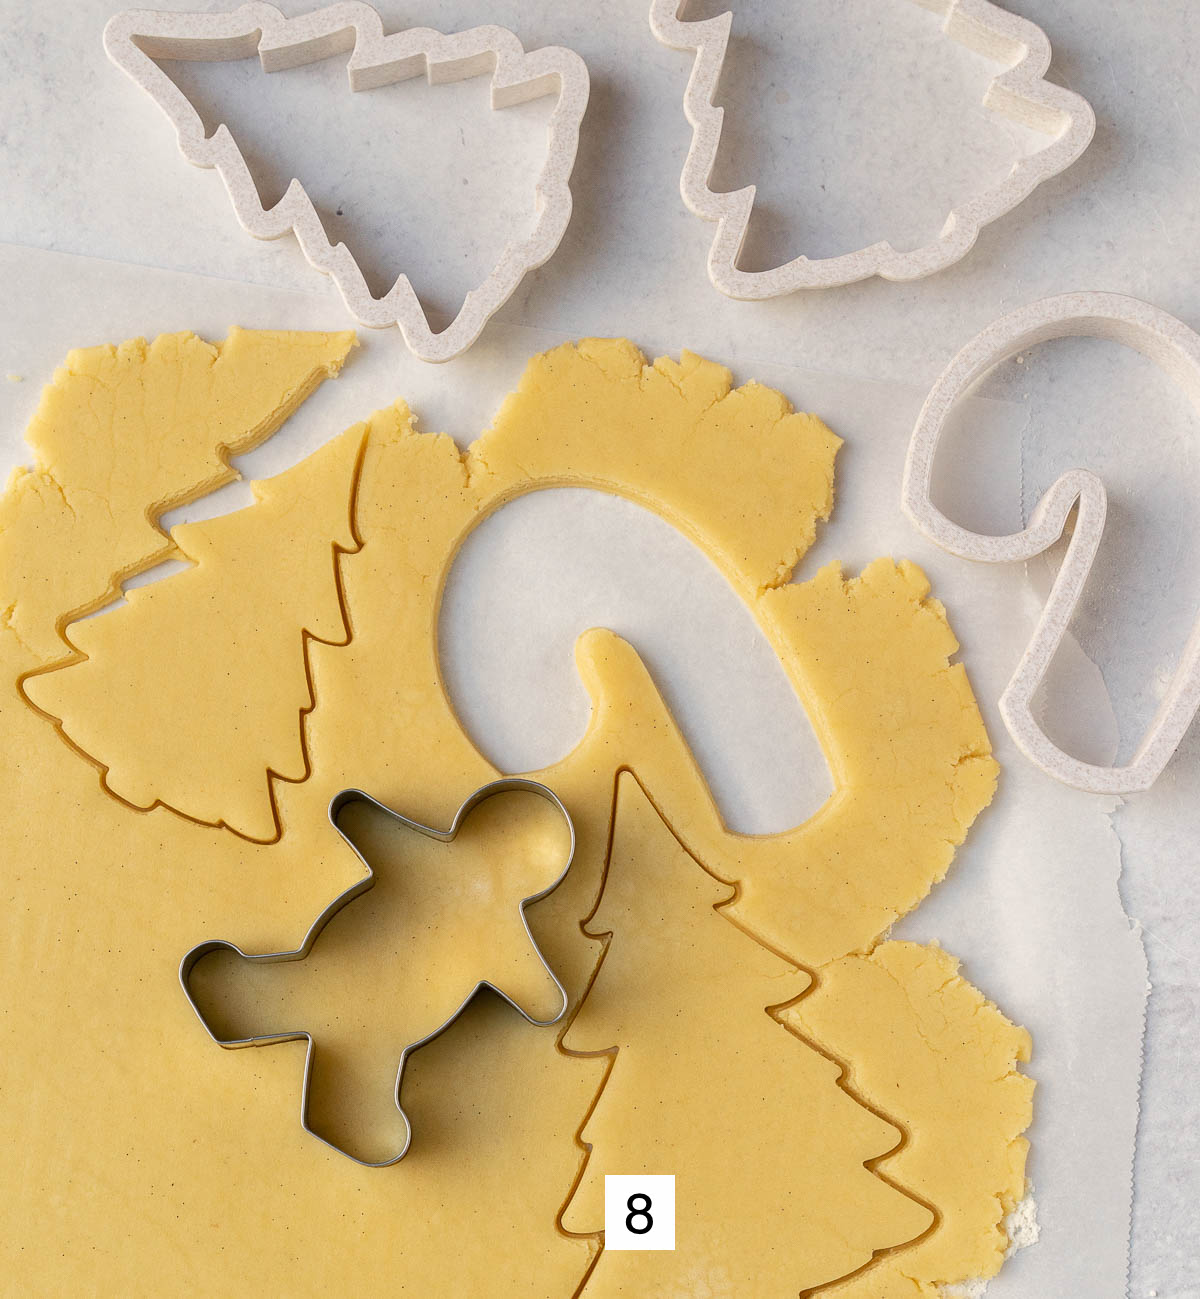
Step 8: Use cookie cutters to cut out desired shapes. Place at least 1" apart on baking sheet.
Step 9: Bake at 375 F for 10 minutes, or until bottom edges are lightly golden brown.
Step 10: Remove from oven and place on wire rack to cool. Allow to completely cool before decorating or enjoying.
Making Stamped Cookies
This section will help walk you through the steps to make stamped cookies. Stamped cookies are a great alternative if you want to show off a cookie with a design but without all the work using royal icing or buttercream.
The only change to the recipe is to omit the baking powder. Baking powder helps the cookie rise, so if you leave it in the recipe then the cookie stamp design will not show as clearly as you'd like.
Hot Tip! If you are going to color your cookie dough, add the food coloring after the egg has been mixed in and prior to adding the flour. This helps color the dough without having to do the extra work to knead the color into the dough!
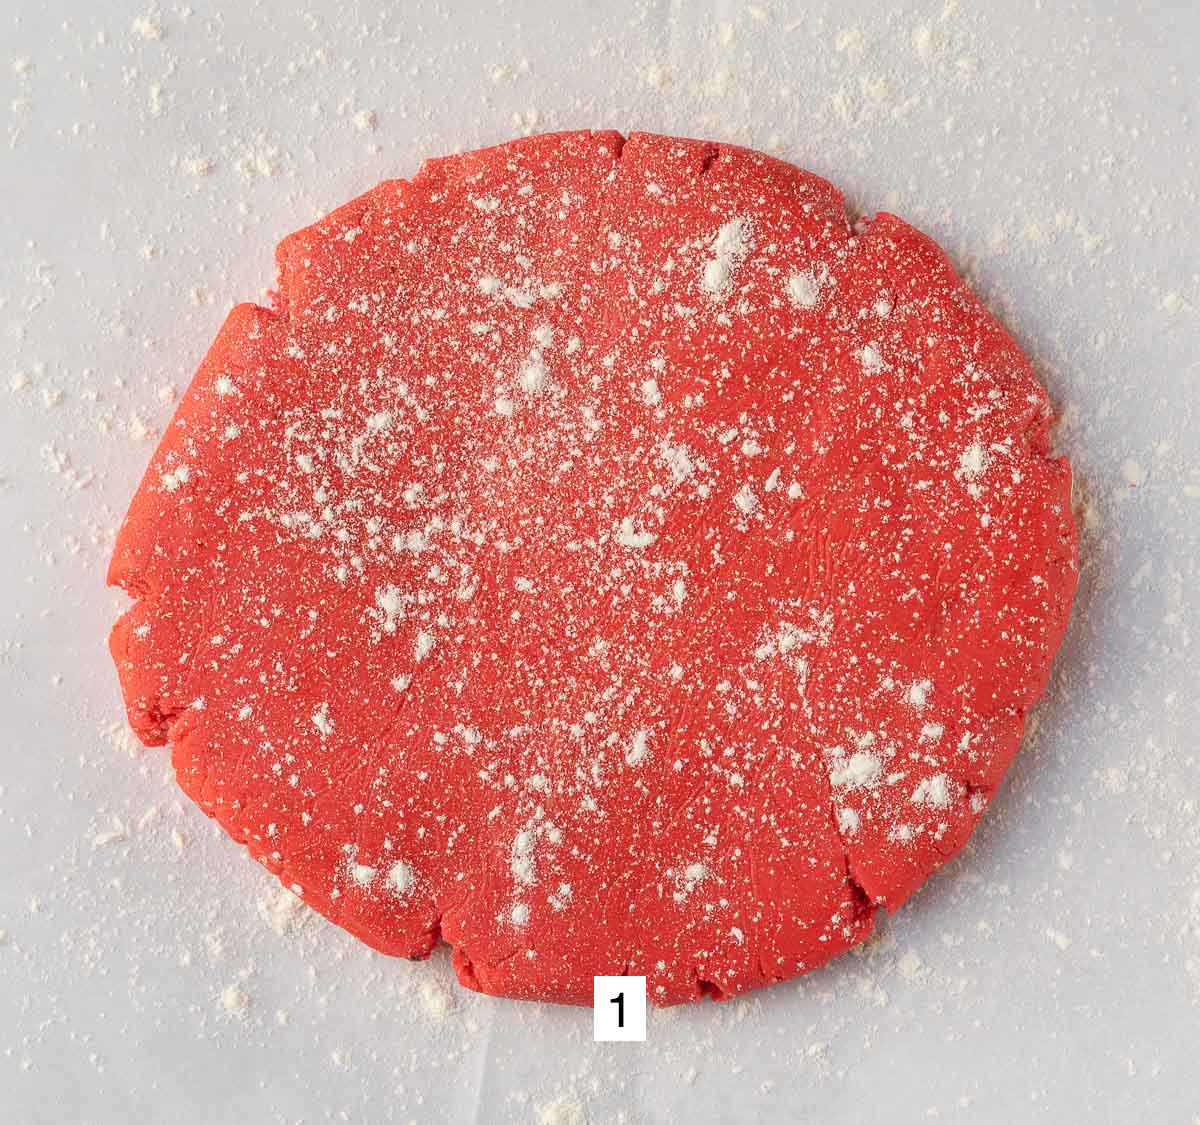

Step 1: After following the steps above in making the dough, flour and roll out to no more than ¼" thickness. Refrigerate for at least 1 hour.
Step 2: Flour cookie stamp well to avoid dough sticking. To help the flour 'stick' you can place some dough on the cookie stamp, remove and then roll stamp in flour to help it adhere.
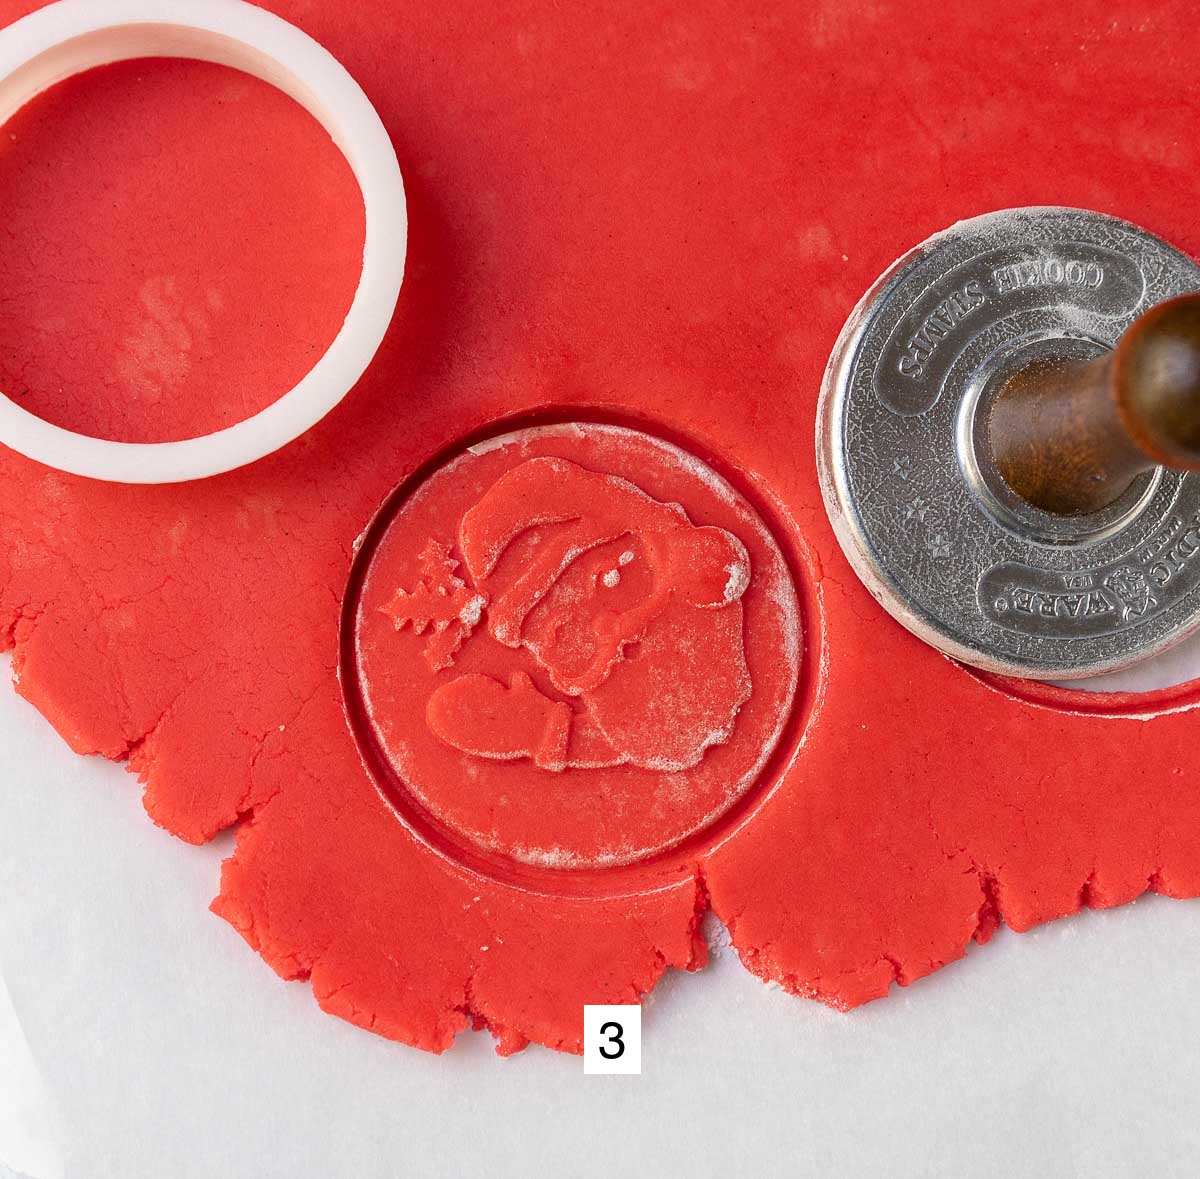

Step 3: Place cookie stamp on dough and press firmly all along the edges and on the knob. Make sure to press down firmly to ensure the design imprints well.
Step 4: Use a circle cookie cutter to cut cookie design. Place on baking sheet at least 1" apart.
Step 5: Follow baking instructions as listed on recipe card.

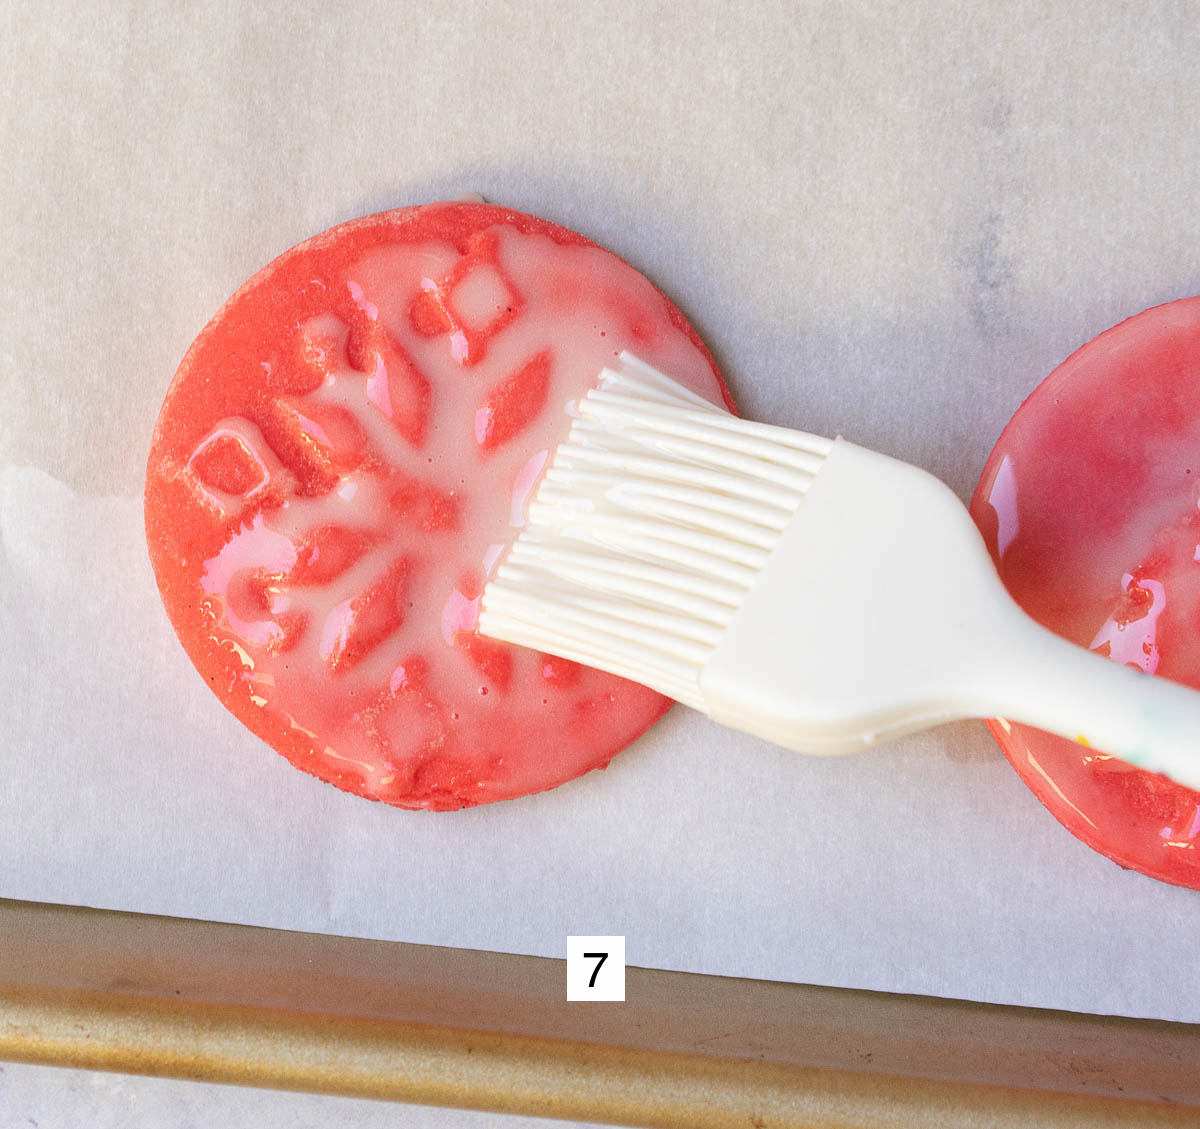
Step 6: Prepare glaze icing. Use soft rubber brush for brushing on icing.
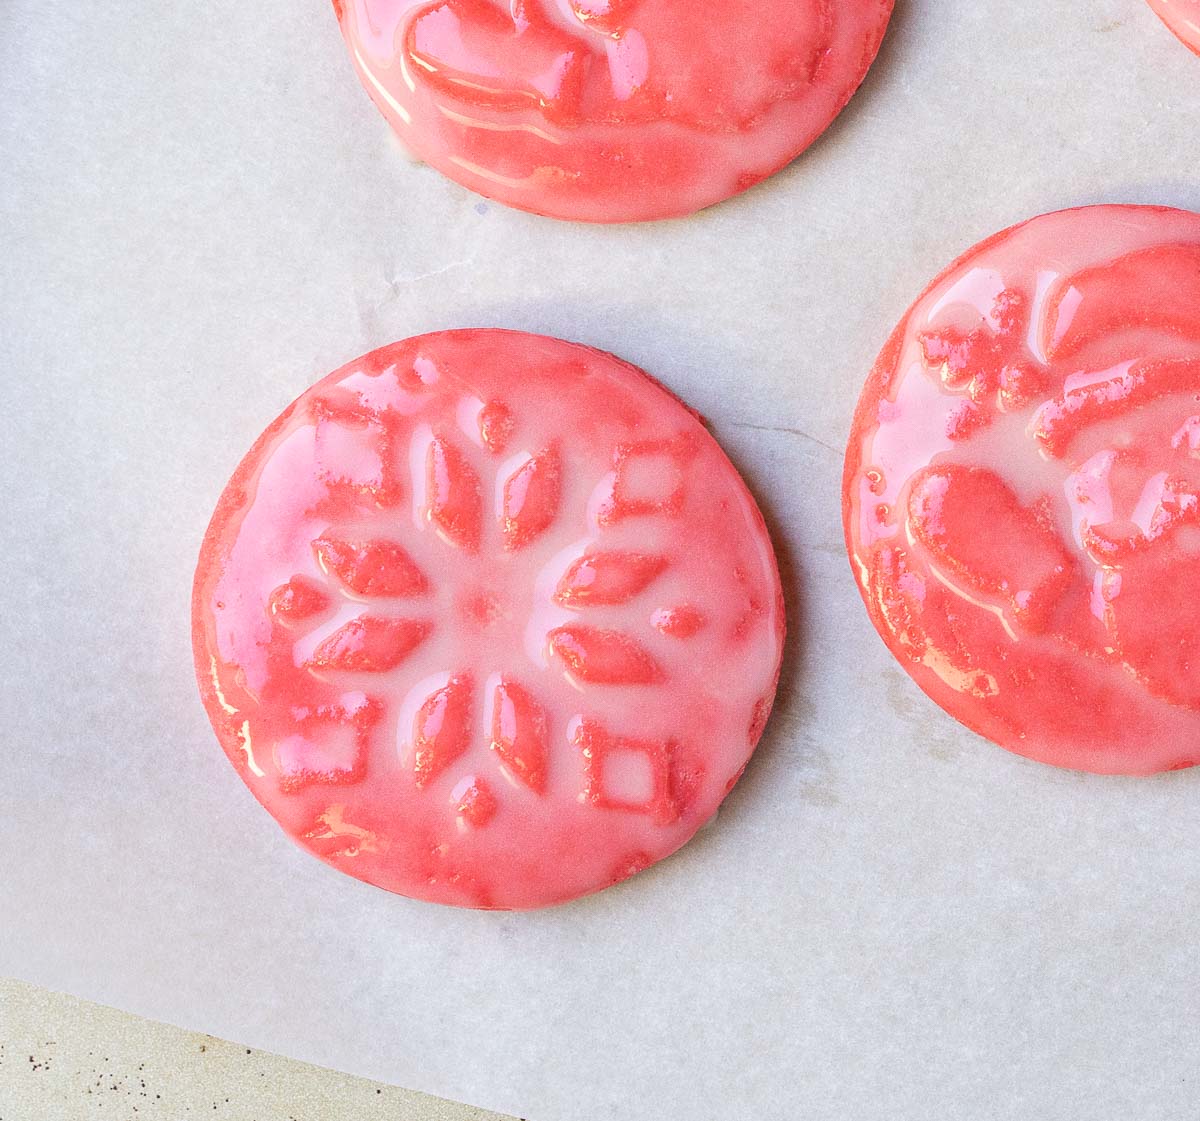
Step 7: Dip brush into glaze icing and gently spread onto cookie until the top is fully coated. Allow to set for a few minutes and then store in an airtight container.
Additional Cookie Stamp Tips
- Chill the cookie dough for at least 1 hour prior to stamping.
- Flour the cookie stamp between each imprint to help keep it from sticking to the dough.
- If you do not want to roll out the cookie dough, you may also scoop out about 3 tablespoons of cookie dough, roll between your palms to form a ball and place on baking mat a few inches apart of each other. Then proceed to follow steps for stamping above.
Decorating Ideas
The versatility of a sugar cookie really knows no bounds because you can dress them up and down as much as you'd like. Here are a few decorating ideas that you can try!
- Royal Icing. Decorate your cookie using royal icing. You can create all kinds of designs, and with the abundance of tutorials available on YouTube and other social media platforms it is easier than ever!
- Buttercream. This is my preference because I love the soft bite of buttercream. It adds delicious flavor without a ton of extra time or work the way royal icing may demand.
- Glaze Icing. If you are stamping the cookie than I highly recommend adding a glazed icing on top. It helps soften the cookie even further, and gives a slight nudge of sweetness to an already delicious cookie!

Troubleshooting
Dough Too Soft. If your dough is too soft than it is likely the result of butter being too softened to room temperature. Best fix is to place the finished dough in the refrigerator for at least 30 minutes and up to 1 hour. This will help the butter solidify and make it easier to manage/cut your shapes.
Difficulty Transferring Cut Shapes. If you are struggling to transfer your cut cookie shape to the baking sheet, one easy fix is to take the rolled out dough and place on the cookie sheet. Then cut your shapes allowing at least 1" to 2" of space between each cookie.
Cookie Spread Too Much. This recipe does have a small amount of spread to the cookie. If you find that they spread too much there could be a few reasons why - butter too warm, flour or sugar not measured properly. Measuring ingredients helps eliminate this challenge.
Storage
Pre-Bake. You can freeze cookies prior to baking. Follow steps above in preparing dough, but do not roll out. Wrap in plastic wrap, and then place in freezer safe bag or container and freeze for up to 3 months. Defrost by removing from freezer and allowing to come to room temperature on kitchen counter. Do not open container or bag. Follow steps 6 through 10.
Post Bake. You may store the cookies in a ziplock bag or airtight container on the kitchen counter for up to 5 days. You may also place in freezer safe ziplock bag or airtight container and freeze for up to 3 months. Defrost by removing from freezer but do not open bag or container. Allow to come to room temperature.
More Recipes To Enjoy
If you have tried this Vanilla Bean Sugar Cookie recipe, or any other recipe on this website, please don't forget to leave a star ⭐️ review! Your feedback and comments are appreciated!

Vanilla Bean Sugar Cookie
Equipment
- stand mixer with paddle attachment
- parchment paper
- Rolling Pin with measuring guides
- silicone spatula
- kitchen scale optional but recommended
- cookie stamps optional
- silicone brush optional - for glaze icing on stamped cookies
Ingredients
- 3 cup all purpose flour 390g
- ¾ cup unsalted butter, room temperature 168g
- ¾ cup sugar 150g
- 1 ea large egg room temperature
- 1 tbsp vanilla bean extract
- 1 tsp baking powder omit if stamping cookies
- ½ tsp fine sea salt
Glaze Icing for Stamped Cookies
- 1 cup confectioners sugar 113 g
- 3 tbsp whole milk
Instructions
- Preheat oven to 375 F.
- In a stand mixer fitted with a paddle attachment, cream butter, sugar and vanilla on high until light and fluffy - about 2 to 3 minutes. Scrape down bowl as needed.¾ cup unsalted butter, room temperature, ¾ cup sugar, 1 tbsp vanilla bean extract
- Once creamed, scrape down bowl and add egg. Mix on low for about 1 minute. Scrape down bowl as needed.1 ea large egg
- In a separate bowl, whisk together flour, baking powder and salt.3 cup all purpose flour, 1 tsp baking powder, ½ tsp fine sea salt
- Add dry ingredients to wet ingredients on mix on low until partially combined.
- Increase mix speed to medium low until dough comes together on paddle attachment and pulls away from bowl - about 1 minute.
- Place parchment paper on counter and lightly flour.
- Place dough on parchment paper and knead with hands if dough still needs to come together a bit more. Add another sheet of parchment on top of the dough.
- Roll out to desired thickness with rolling pin. Remove top piece of parchment and light flour dough.
- Cut shapes and place on baking sheet. Bake for 10 minutes, or until there is light browning along bottom edges.
- Remove from oven and place on wire rack to cool. Allow to cool completely before enjoying or decorating.
Stamping Cookies
- After following the steps above in making the dough, flour and roll out to no more than ¼" thickness. Refrigerate for 1 hour.
- Flour cookie stamp well to avoid dough sticking. To help the flour 'stick' you can place some dough on the cookie stamp, remove and then roll stamp in flour to help it adhere.
- Place cookie stamp on dough and press firmly all along the edges and on the knob. Make sure to press down firmly to ensure the design imprints well.
- Use a circle cookie cutter to cut cookie design. Place on baking sheet at least 1" apart.
- Follow baking instructions as listed above.
- Prepare glaze icing. Use soft rubber brush for brushing on icing.
- Dip brush into glaze icing and gently spread onto cookie until the top is fully coated. Allow to set for a few minutes and then store in an airtight container.
Glaze Icing
- Combine confectioners sugar and milk in bowl. Whisk until sugar has dissolved.1 cup confectioners sugar, 3 tbsp whole milk

















Julian says
Best cookies ever!