These Chocolate Sugar Cookies are double the chocolate and so easy to make! Great for holiday baking projects, and even more fun to share with family and friends. They come together quickly and only require minimal chilling.
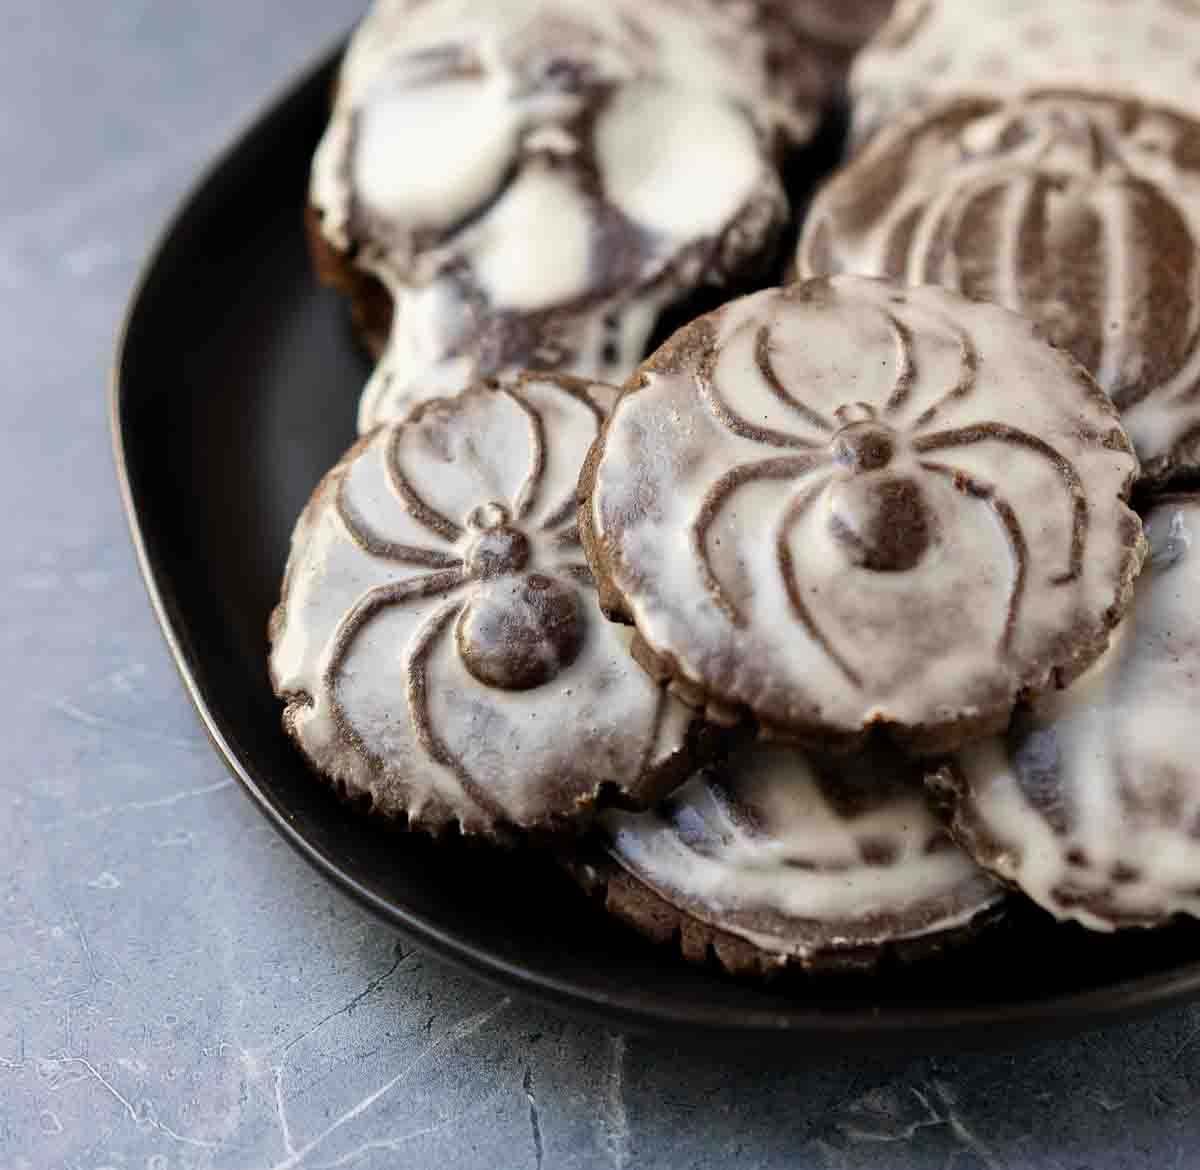
Cut out sugar cookies, or roll out cookies, are no strangers to the blog. I have been working to share a chocolate sugar cookie recipe - a really good one - for some time. I wanted to try and share a recipe with you that was not just easy to make, but also delicious. Cut out cookies can sometimes look labor intensive, but hopefully you find this recipe an easy follow and tasty too!
Jump to:
Why You Will Love This Cookie
Make and Create! The best part of a cut out cookie is the opportunity it gives to create. Like a blank canvas - but on edible, tasty chocolate sugar cookies!
Kid Friendly. One of the best parts of cut out cookies is it is an easy cookie to make, and this is especially ideal when baking with kids! This recipe is forgiving and a fun baking project to make with little ones.
If you love cut out cookies than I also highly recommend trying my Apple Cider, Maple and Pecans Sugar Cookies, Blueberry Lemon Sugar Cookies or No Chill Vanilla Sugar Cookies!
You can also have a try and recreating your own cookies with the tutorials available in the Let's Create section, like Jack Skellington!
Ingredients
Please read through the ingredients list so you can familiarize yourself with each ingredient. The ingredients and supplies can be found in most homes, or purchased at your local grocery store.
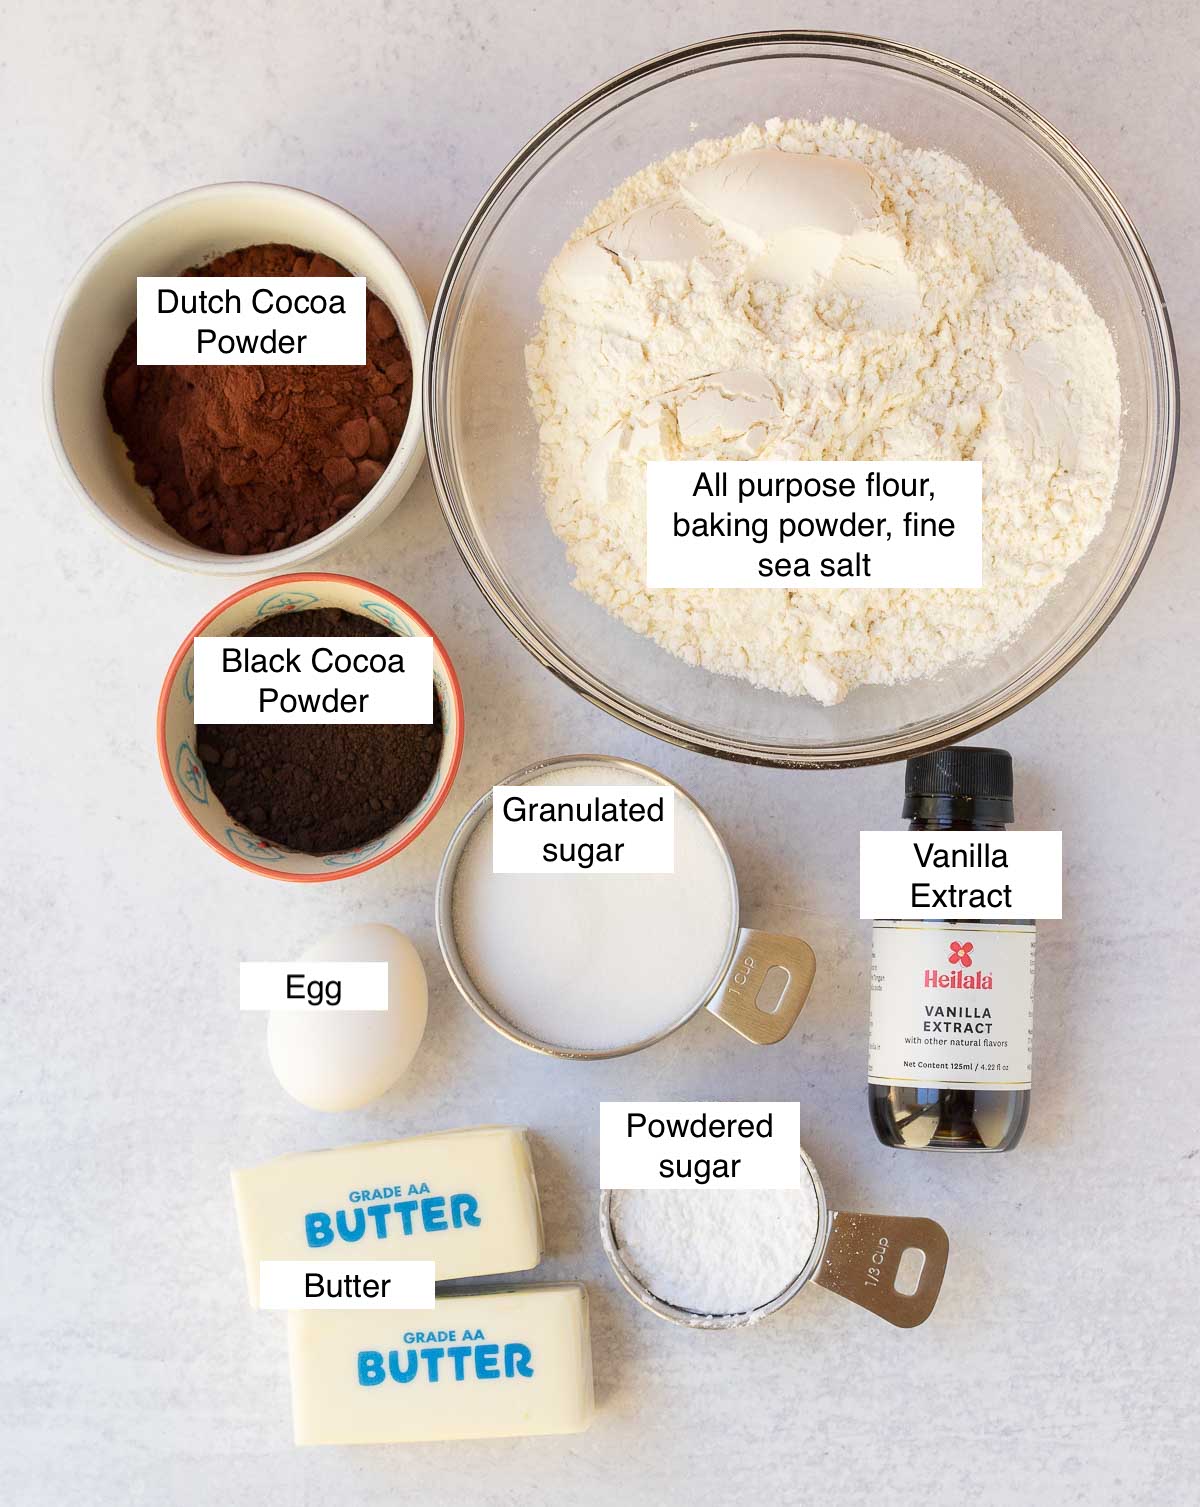
Dutch Cocoa Powder. I use Guittard dutch processed cocoa powder in most of my cookies, and that is the same here. You can substitute with natural cocoa powder if you do not have dutch cocoa on hand.
Black Cocoa Powder. The black cocoa powder helps naturally darken the chocolate sugar cookies, but also helps provide a more intense chocolate taste. Similar to an Oreo cookie.
Powdered Sugar. Or confectioners sugar as it is also called, this ingredient helps provide a tender bite.
Sugar. Your standard granulated sugar helps sweeten up the cookie and combines well with the butter.
Vanilla Extract. A hefty tablespoon does the trick in this recipe. You can use pure vanilla or imitation.
Egg. A large egg, but make sure it is at room temperature.
Pre-Baking Tips
If you have never baked cut out cookies than I highly recommend reading all the tips shared. It will make the experience much easier, I promise!
Room Temperature Ingredients. It is important that the butter and egg be at room temperature. It helps for the ingredients to mix together and come together cohesively.
Stand Mixer Recommended. I have never made a cut out recipe without a stand mixer, but that is not to say it cannot be done! A hand mixer can be used almost up to the end. When adding the flour you will just need to knead the dough with hands until it is well formed.
Roll Out Dough Between Parchment. This is one of the best tricks out there, and helps eliminate the need to flour the dough so it doesn't stick to the rolling pin (which can actually lead to a drier dough because of the excess flour!). Roll out prior to refrigerating. I usually roll my dough to ¼" and use standard 3" to 4" cookie cutters. A rolling pin with measurement guides is a great tool for this!
Chill The Dough. This step is crucial because you want the butter to solidify a bit. This helps maintain the cookie structure - and shape - when the cookie is baking. One hour is a good amount of time, but I don't recommend going more than 2 hours. Cover with baking pan plastic cover, or plastic wrap when in refrigerator to avoid drying out cookie.
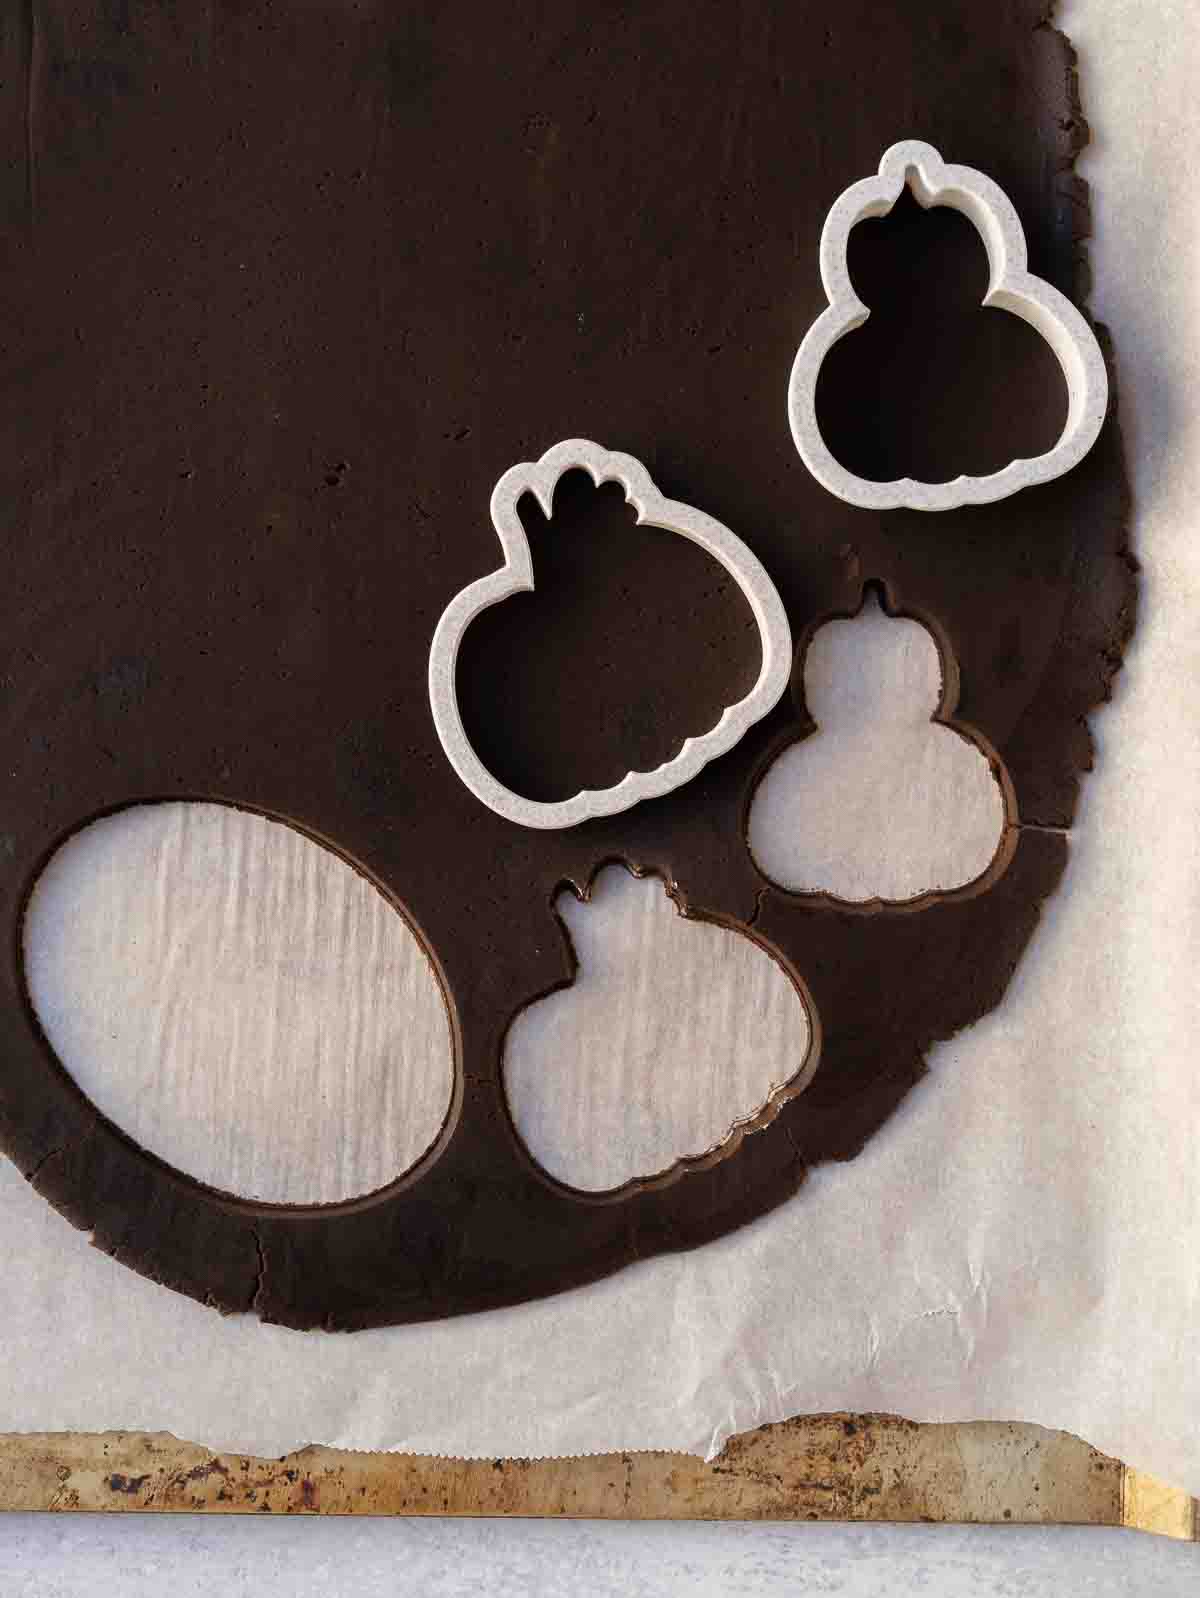
Cut Shapes On Baking Sheet. If you are working with larger cookies, or round or rectangular shapes, then it can easily become not the shape you intend it to be when moving it from point A to point B. To make this simpler, lay the dough with the parchment on top of the baking sheet. Cut out the cookie shapes with the 1" space between, and then just remove the excess dough and you are ready to go!
How To Make Chocolate Sugar Cookies
This recipe uses baking tools and ingredients that can be found in most homes. Please see recipe card for full list of equipment and ingredients.
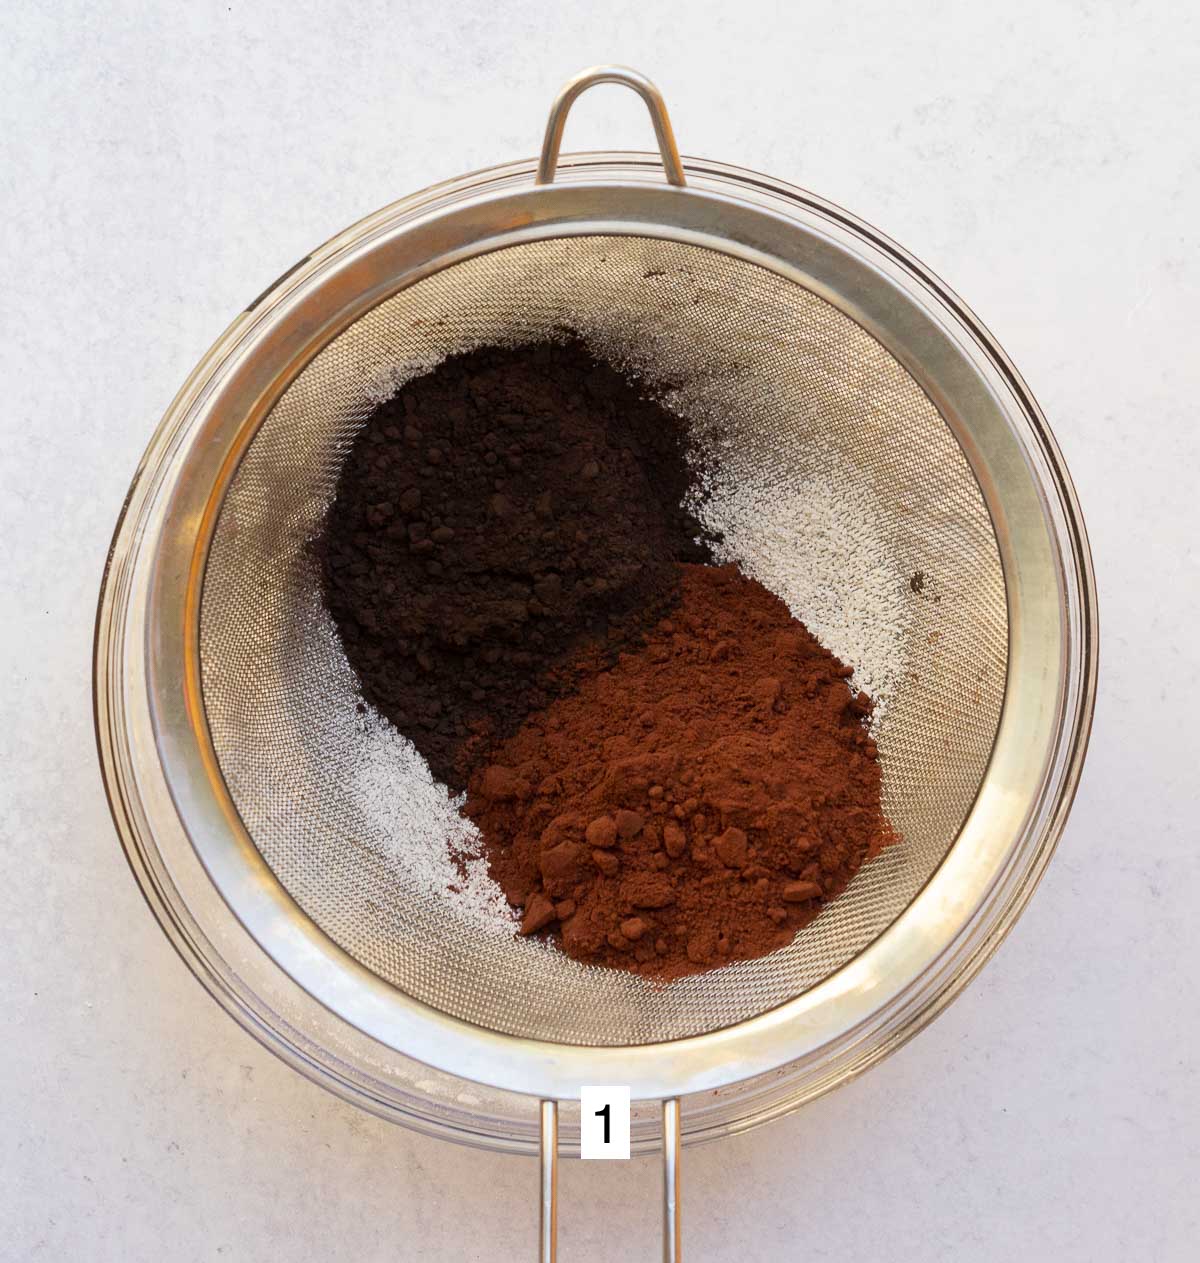
Step 1: Sift cocoa into the all purpose flour, baking powder and salt.
Step 2: Whisk dry ingredients together until well dispersed.

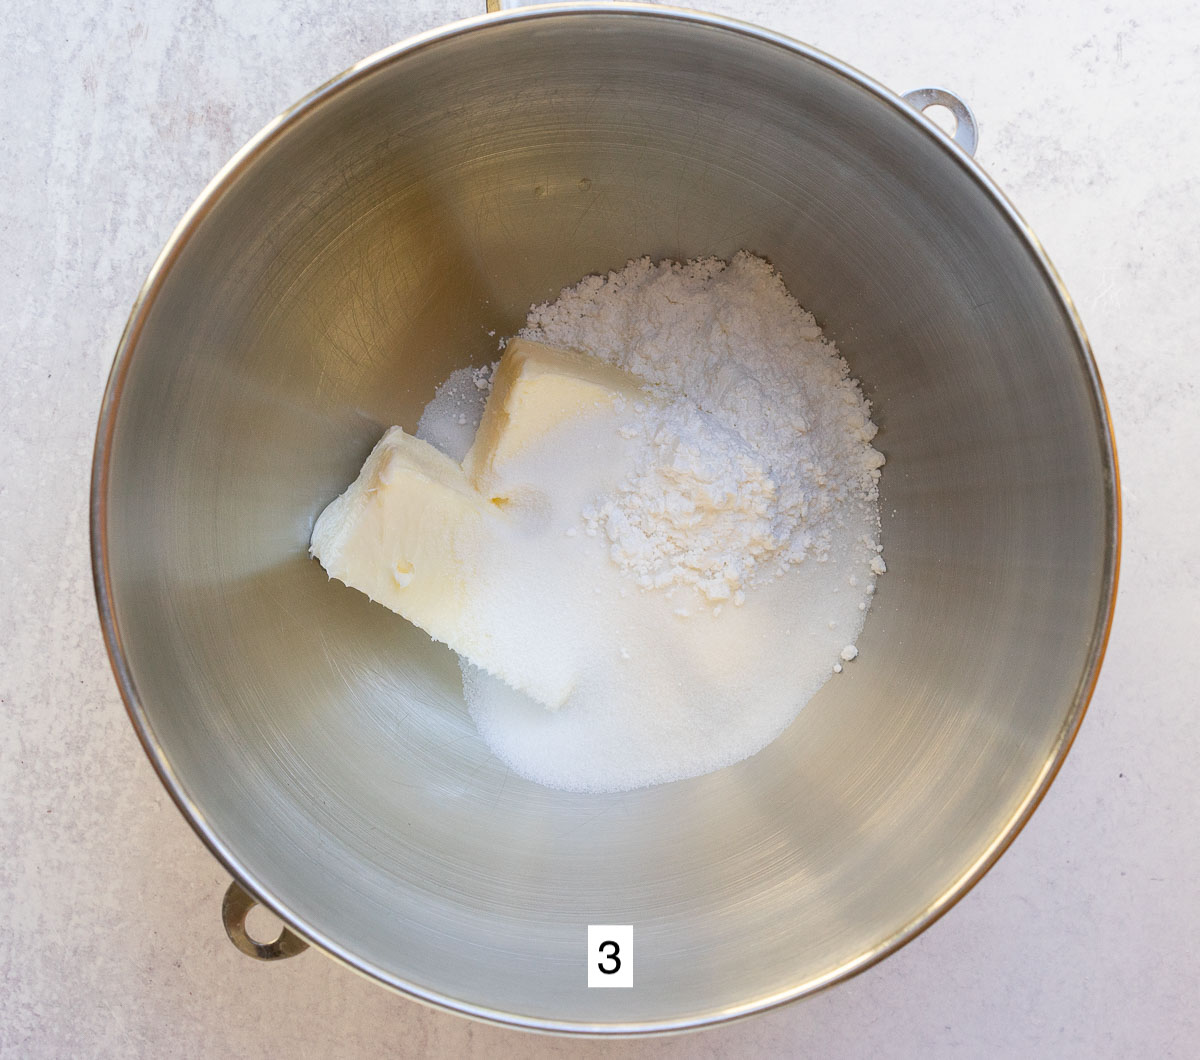
Step 3: Add butter and sugars into stand mixer bowl fitted with a paddle attachment. Cream ingredients on high for about 2 minutes until light and fluffy. Scrape down bowl as needed.
Step 4: Mix in egg on medium low until well combined. Scrape down bowl as needed.

Step 5: Add vanilla and mix on medium low until combined.
Step 6: Add dry ingredients to wet ingredients. Mix on low until most of the dry ingredients are combined.


Step 6: Increase speed on mixer to medium and continue mixing until dough pulls away from sides and comes together on paddle attachment.
Step 7: Place dough on parchment paper and knead together if needed.


Step 9: Place a 2nd piece of parchment on top of the dough and use a rolling pin to roll out to desired thickness. Refrigerate for at least 1 hour but no more than 2 hours.
Step 10: Remove from refrigerator and use cookie cutters to cut out shapes and place on baking sheet at least 1" apart.


Step 11: Bake at 375 F for 10 minutes. Remove from oven and cool on wire rack.
Step 12: Allow cookies to completely cool before decorating or enjoying.
Variations
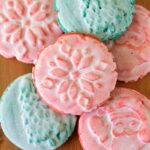
If you would love to try the recipe but don't want to make them as cut out cookies, I have you covered! You can still create some fun cookies that will hold their shape by using cookie stamps!
Note that if you are going to use to make cookie stamps do NOT use the baking powder in the recipe! We don't want any leavened in our cookies because that will cause them to rise and our cut out or stamped shape will be lost in the bake.
Simply follow all the steps but instead of rolling out you will wrap the dough ball with plastic wrap. Place in refrigerator for 30 minutes to 1 hour. Remove from refrigerator and remove about 2 to 3 tbsp of cookie dough. Roll between your palms into a ball, and then place on baking sheet. You will need to flour the cookie stamp to prevent it from sticking. Center cookie stamp and press firmly down until you see most of the cookie spread to the corners of the stamp or beyond - but don't press too much. Gently lift and peel back dough. Follow the remaining baking instructions for the recipe.

Recipe FAQ's
You absolutely can. Use dutch cocoa powder as a 1:1 in the recipe, but note that your cookies will not be as dark.
This recipe does have a little bit of spread to it but not very much.
If you do not plan to use this recipe to create specific shapes than yes, you can skip the bulk of the refrigeration portion. I would recommend at least placing cut out cookies in the freezer for a quick 10 minutes before baking so they do not spread too much. If you however want to use cookie cutters for specific shapes to decorate after than no, do not skip the refrigeration portion of the recipe.
I do not, but I do have recipes available from others that are free to use! I have tried these myself and they all work wonderfully. You may use Wilton's, Demi Cookie Co., or Cookies By Camilla (recipe on Instagram).
Storage
Undecorated baked cookies you may store in an airtight container or ziplock bag for up to 5 days at room temperature. You can also refrigerate for about 2 weeks, or freeze for up to 3 months. When defrosting allow to come to room temperature within container before opening and decorating.
Decorated cookies I recommend heat sealing individually, and then packing in an airtight container or ziplock bag. They will remain fresh for about 3 days. You may also freeze in the container for up to 3 months. When defrosting allow to come to room temperature within container before opening and enjoying.
Unbaked cookies may be frozen as well. You may store frozen as bulk cookie dough - wrap in plastic wrap well, and then place in airtight container or freezer safe ziplock bag. It may stay frozen for up to 3 months. Defrost and then follow steps beginning at rolling out dough.
More Recipes To Enjoy
If you have tried this Chocolate Sugar Cookies recipe, or any other recipe on this website, please don't forget to leave a star ⭐️ review! Your feedback and comments are appreciated!
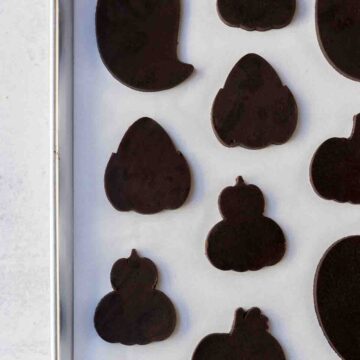
Chocolate Sugar Cookies
Equipment
- stand mixer with paddle attachment
- parchment paper
- rubber spatula
- kitchen scale recommended
- cookie cutters
- sifter
- Rolling Pin with measuring guides
Ingredients
- 2 ¾ cup all purpose flour 350 g
- ½ cup dutch cocoa powder 42 g
- ¼ cup black cocoa powder 21 g
- 1 cup unsalted butter, room temperature 226 g
- ¾ cup sugar 150 g
- ¼ cup powdered sugar (confectioners sugar) 28 g
- 1 large egg room temperature
- 1 tbsp vanilla extract
- 1 tsp baking powder
- ½ tsp fine sea salt
Instructions
- Sift cocoa into the all purpose flour, baking powder and salt.2 ¾ cup all purpose flour, ½ cup dutch cocoa powder, ¼ cup black cocoa powder, 1 tsp baking powder, ½ tsp fine sea salt
- Whisk dry ingredients together until well dispersed.
- Add butter and sugars into stand mixer bowl fitted with a paddle attachment. Cream ingredients on high for about 2 minutes until light and fluffy. Scrape down bowl as needed.1 cup unsalted butter, room temperature, ¾ cup sugar, ¼ cup powdered sugar (confectioners sugar)
- Mix in egg on medium low until well combined. Scrape down bowl as needed.1 large egg
- Add vanilla and mix on medium low until combined.1 tbsp vanilla extract
- Add dry ingredients to wet ingredients. Mix on low until most of the dry ingredients are combined.
- Increase speed on mixer to medium and continue mixing until dough pulls away from sides and comes together on paddle attachment.
- Place dough on parchment paper and knead together if needed.
- Place a 2nd piece of parchment on top of the dough and use a rolling pin to roll out to desired thickness. Refrigerate for at least 1 hour but no more than 2 hours.
- Remove from refrigerator and use cookie cutters to cut out shapes and place on baking sheet at least 1" apart.
- Bake at 375 F for 10 minutes. Remove from oven and cool on wire rack.
- Allow cookies to completely cool before decorating or enjoying.













Leave a Reply