


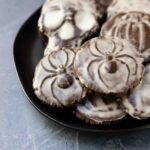


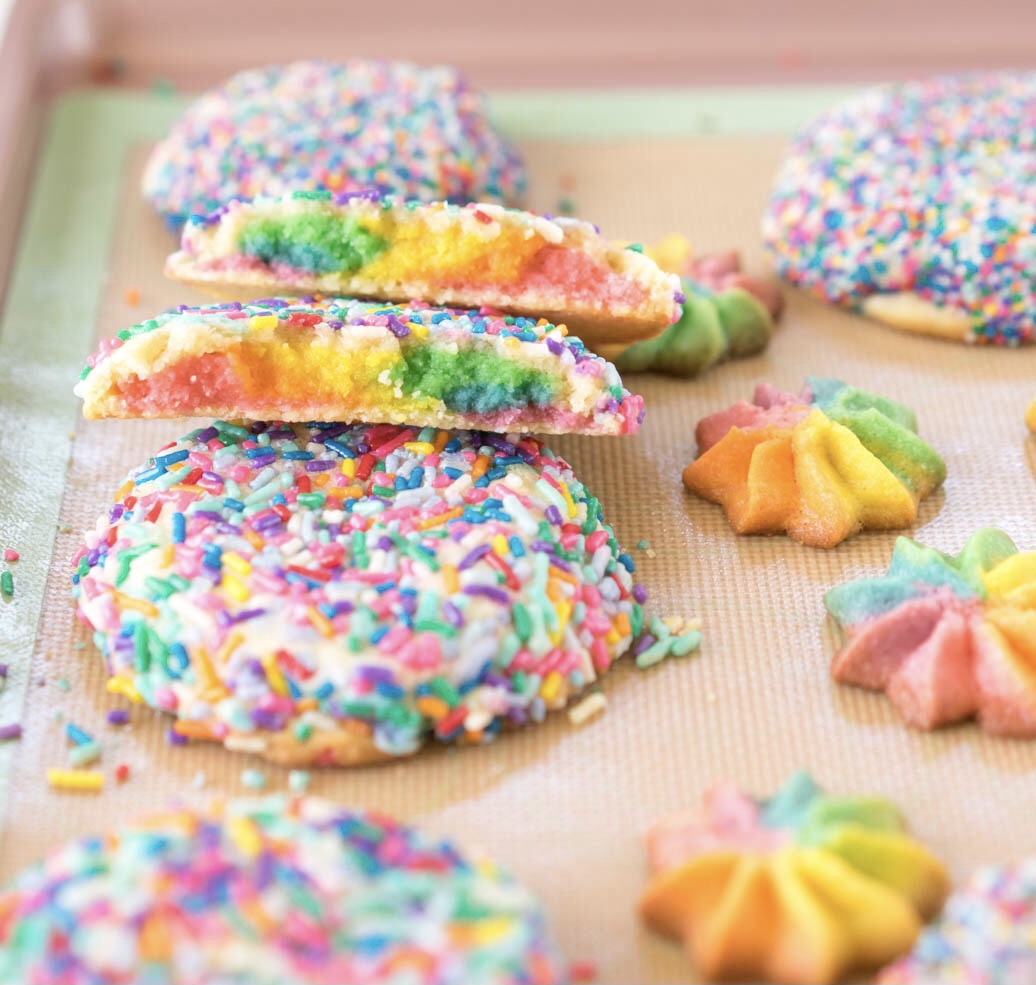
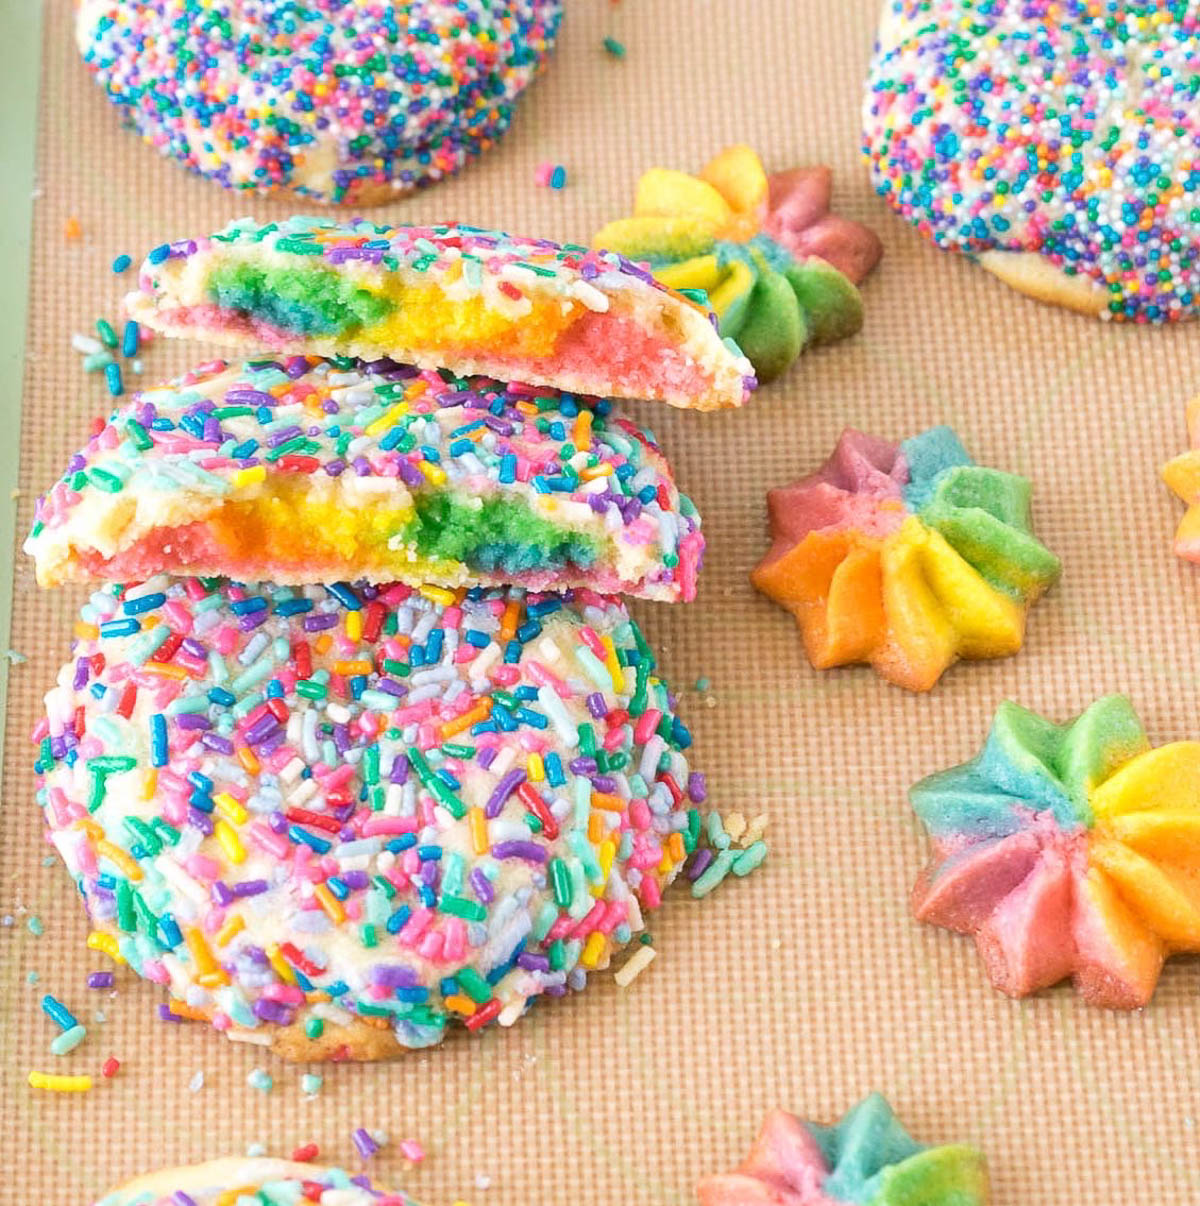
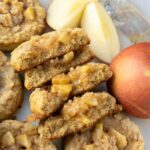
Soft and buttery just like any classic butter cookie - but with a colorful rainbow twist. Get ready for a burst of flavor and color with Rainbow Butter Cookies. These fun and exciting treats will brighten up any dessert table.
The idea for this cookie was born in early 2020 when I first saw Buttermilk By Sam hidden rainbow bundt cake. I remember thinking what an absolutely genius idea! To take a 'regular' type of dessert but to brighten it up with a hidden rainbow - how absolutely fun and exciting! I was only beginning to explore the world of cookie recipe development so I knew it would become not just a new recipe but also one of my first dessert decoration DIY projects.
Jump to:
Why You Will Love This Cookie
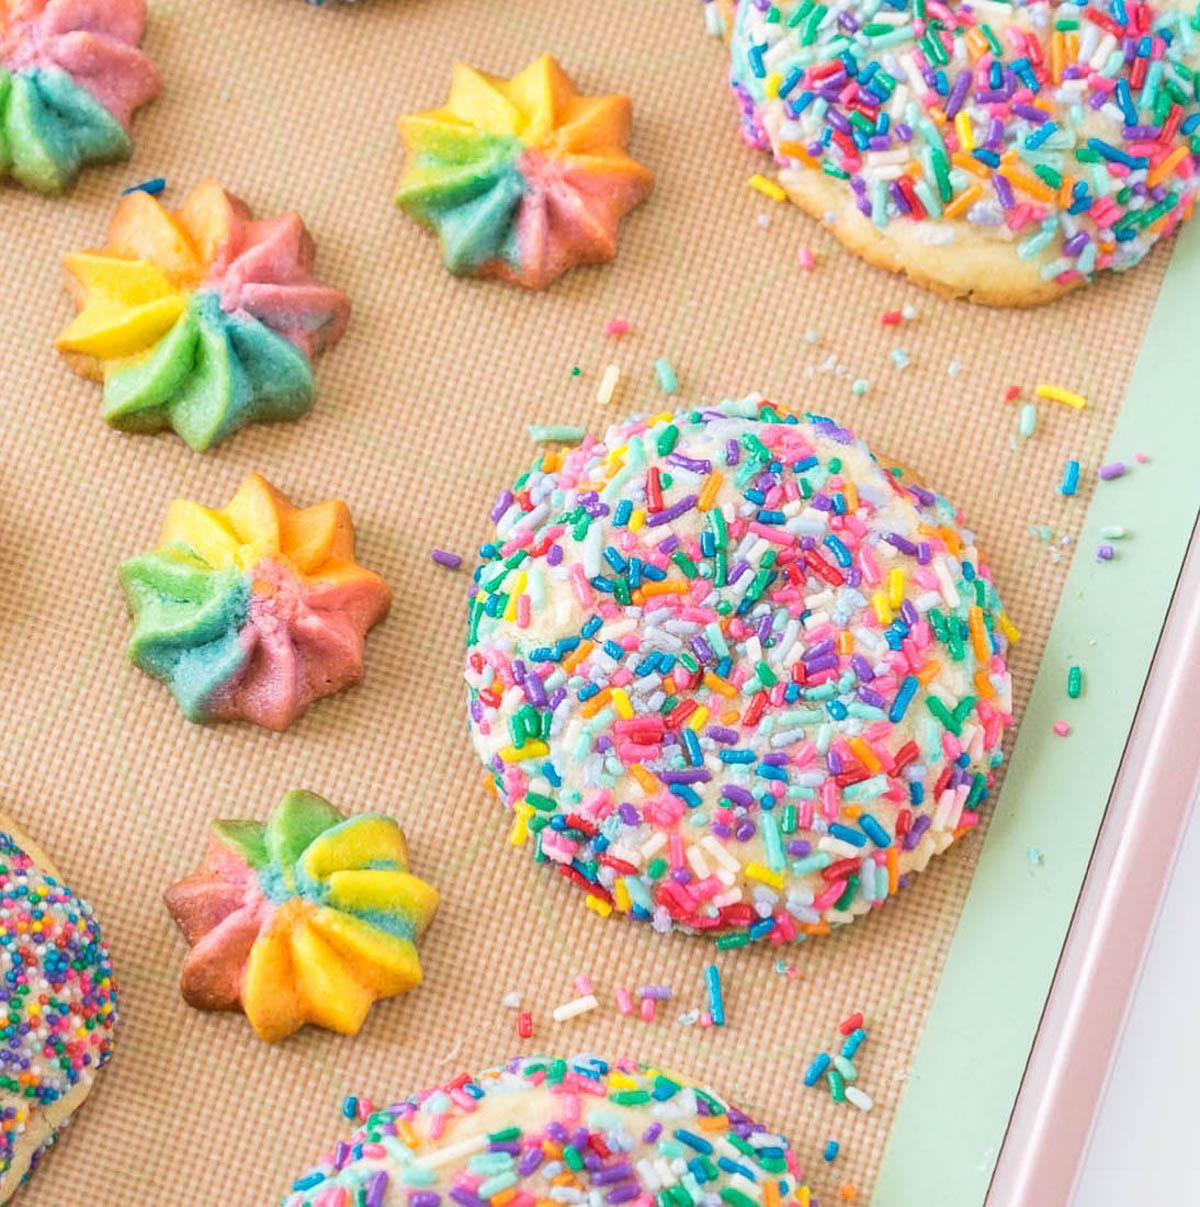
Burst Of Color. This cookie is not just bursting with color - it's also bursting with flavor! The hidden rainbow truly brings a smile to your face as you break the cookie open to see all that magic inside.
Major Yum. This cookie doesn't just boast color. We also got some major yum factors going on here. It's so very delicious and soft, and truly one of the most wonderful cookies we can enjoy.
Easy Peasy. I know that the process to create these may seem daunting, but it really is one of the easiest recipes to make! You can of course opt out of the hidden rainbow but still make this cookie beautiful by rolling in rainbow jimmie sprinkles.
Ingredients
Lucky for us the basics for making butter cookies is pretty simple. Most of the items we already have in our pantry and refrigerator. The only item you may need to head to the store for, or place your online order for are the rainbow jimmie sprinkles. Lucky for us they are pretty easy to get as well!
Butter. Unsalted butter at room temperature is the recommendation. Remove butter at least 1 hour prior to beginning. You can speed up the process by cutting the butter into cubes. You may use salted butter in place of unsalted, just omit the salt in the recipe.
Milk. Any milk will do here - whole, 2%, low fat, almond, oat, etc. All we are looking for is to provide a bit of moisture to the dough to help pull the ingredients together, and this will also help to soften just a bit more. Just keep in mind that adding any flavored milk may slightly alter the taste of the cookie.
Sprinkles. I recommend using rainbow jimmies (little rods) for these cookies, but you really can use any sprinkles you'd like. I've found the jimmies are better in flavor than the fancier sprinkles you might find from online sprinkle retailers.
Food Coloring. I use Americolor food gels and Chef Master food gels in my cookie doughs. Both work very well and are affordable within the US. If you do color your cookie dough I recommend using food safe gloves because the food coloring will stain your hands.
How To Make The Hidden Rainbow
These steps will include the preparation of the cookie dough, as well as the steps for making the hidden rainbow. Once those steps are complete the dough will need to be chilled for a few hours prior to baking. If you do not want to create the hidden rainbow you can skip those steps and go directly to rolling dough balls in sprinkles and chilling to bake at a later time.
Step 1. Combine butter, sugar and vanilla into a large bowl. Use a stand mixer with paddle attachment and cream on high until light and fluffy - about 3 minutes.
Step 2. Add egg and mix on medium low until well combined.
Step 3. Add all purpose flour and salt to bowl. Mix on low until until most of the flour is combined, and then turn on medium until just combined.
Step 4. Add 2 - 3 tablespoons of milk to the dough and mix on low until fully absorbed.
Now that the dough is ready you can begin gathering the items needed to help color the dough. I recommend food safe gloves to keep your hands from staining, a small bowl to place the sprinkles in for when rolling the dough in them, a baking sheet lined with parchment paper close by, and a large bowl to hold the colored dough as you work.
Step 5. Use a 3 tbsp ice cream scoop to scoop out dough to color. Use 2 drops of red food coloring and mix using your hands, or using a small rubber spatula. Place in the large bowl and repeat for the remaining rainbow colors. You should be left with roughly ⅓ to ½ of the dough uncolored which is fine because this will be the outer layer of the cookie.
Step 6. Scoop out about 2 tablespoons of uncolored dough and flatten between your palms. It should be the length of your palm.
Step 7. Scoop out about 1 tsp of red dough and place along one outer edge of the uncolored dough. Repeat with each color and place them against one another until the last color reaches the opposite side of your palm.
Step 8. Roll the uncolored dough up and towards each other. You want to want to completely cover the colored dough.
Step 9. Roll the dough ball in the sprinkles to coat about ¾ of it. Place on baking sheet (unsprinkled side down) and repeat with remaining dough.
Step 10. Refrigerate cookies for 2 hours to allow the butter to solidify. It will help to keep the cookies from spreading too much during baking.
Step 11. Preheat oven to 375 F. Remove cookies from refrigerator and bake for about 15 minutes, or until you see light browning along bottom edges. Remove from oven and place on cooling rack. Allow to cool before enjoying.
Baking Tips
- As you are adding each small colored piece of dough alongside each other, they should reach just the edge of your palm, but not extend past the uncolored dough. The trick is to lay the colors right up against each other but not on top of each other.
- Coloring and creating the hidden rainbow must be done prior to refrigerating the dough. If you do need to refrigerate before coloring, make sure to wrap the dough in plastic wrap. Remove from refrigerator about 1 to 2 hours before beginning the hidden rainbow steps.
- You can easily mix all 6 colors of the rainbow using only red, yellow and blue food coloring. To create orange, use 1 drop of red and 1 drop of yellow. To create green, use 1 drop of yellow and 1 drop of blue. To create purple, use 1 drop of red and 1 drop of blue.
- Utilize food safe gloves or a small rubber spatula when coloring the dough to avoid getting your hands stained with food coloring.
- Be ready! Have all the items needed close by and ready to use before you begin. It will help speed up the process.
Storage
These cookies store wonderfully at room temperature, and frozen. If storing at room temperature, simply place in an airtight container or ziplock bag. They will stay fresh for up to 5 days. If freezing, place in a freezer safe airtight container or ziplock bag. Defrost by removing entire container but do not open it. Allow to come to room temperature, and then enjoy.
More Recipes To Enjoy
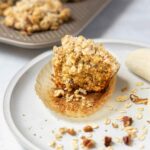
Apple Cider, Maple & Pecans Sugar Cookies
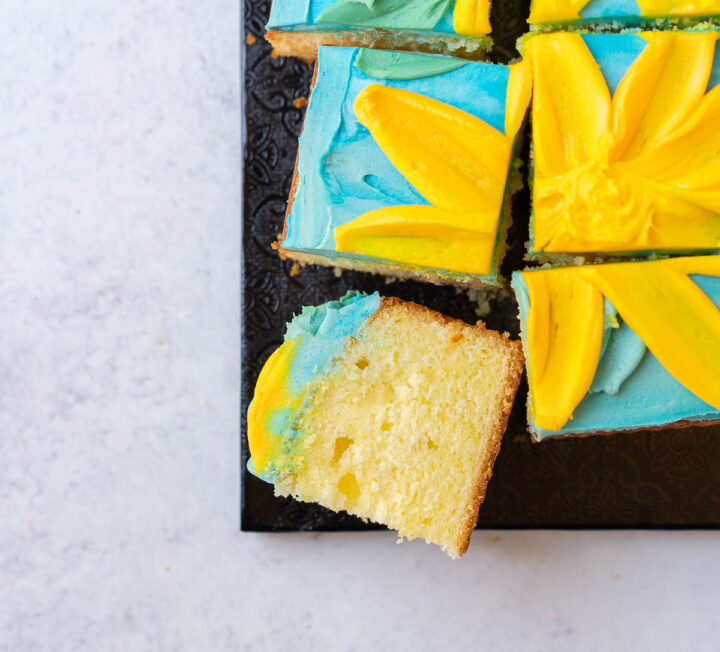
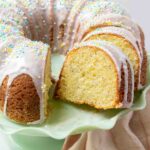
Lemon Snack Cake
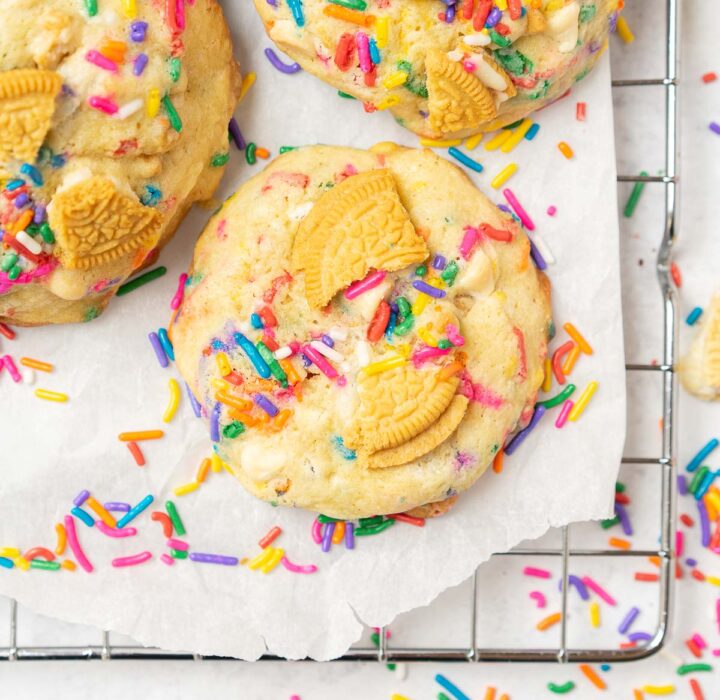
Birthday Cake Cookies

Rainbow Butter Cookies
Equipment
- stand mixer with paddle attachment
- mixing bowls
- 2 + 3 tbsp ice cream scoops optional
- food color gels
- food safe gloves optional
- rubber spatula
- parchment paper
- cooling rack
Ingredients
- 3 cup all purpose flour 360 g
- 1 cup unsalted butter, room temperature 226 g
- 1 cup sugar 200 g
- 1 ea large egg, room temperature
- 1 tbsp vanilla
- ½ tsp fine sea salt
- 2 - 3 tbsp mik
Instructions
Preparing Dough
- Combine butter, sugar and vanilla into a large bowl. Use a stand mixer with paddle attachment and cream on high until light and fluffy - about 3 minutes.
- Add egg and mix on medium low until well combined.
- Add all purpose flour and salt to bowl. Mix on low until until most of the flour is combined, and then turn on medium until just combined.
- Add 2 - 3 tablespoons of milk to the dough and mix on low until fully absorbed.
Creating Hidden Rainbow
- Use a 3 tbsp ice cream scoop to scoop out dough to color. Use 2 drops of red food coloring and mix using your hands, or using a small rubber spatula. Place in the large bowl and repeat for the remaining rainbow colors. You should be left with roughly ⅓ to ½ of the dough uncolored which is fine because this will be the outer layer of the cookie.
- Scoop out about 2 tablespoons of uncolored dough and flatten between your palms. It should be the length of your palm.
- Scoop out about 1 tsp of red dough and place along one outer edge of the uncolored dough. Repeat with each color and place them against one another until the last color reaches the opposite side of your palm.
- Roll the uncolored dough up and towards each other. You want to want to completely cover the colored dough.
- Roll the dough ball in the sprinkles to coat about ¾ of it. Place on baking sheet (unsprinkled side down) and repeat with remaining dough.
- Refrigerate cookies for 2 hours to allow the butter to solidify. It will help to keep the cookies from spreading too much during baking.
Baking Cookies
- Preheat oven to 375 F.
- Remove cookies from refrigerator and bake for about 15 minutes, or until you see light browning along bottom edges.
- Remove from oven and place on cooling rack. Allow to cool before enjoying.
Notes
- Utilize food safe gloves or a small rubber spatula when coloring the dough to avoid getting your hands stained with food coloring.
- As you are adding each small colored piece of dough alongside each other, they should reach just the edge of your palm, but not extend past the uncolored dough. The trick is to lay the colors right up against each other but not on top of each other.
- Coloring and creating the hidden rainbow must be done prior to refrigerating the dough. If you do need to refrigerate before coloring, make sure to wrap the dough in plastic wrap. Remove from refrigerator about 1 to 2 hours before beginning the hidden rainbow steps.
- Be ready! Have all the items needed close by and ready to use before you begin. It will help speed up the process.
- You can easily mix all 6 colors of the rainbow using only red, yellow and blue food coloring. To create orange, use 1 drop of red and 1 drop of yellow. To create green, use 1 drop of yellow and 1 drop of blue. To create purple, use 1 drop of red and 1 drop of blue.

Leave a Reply